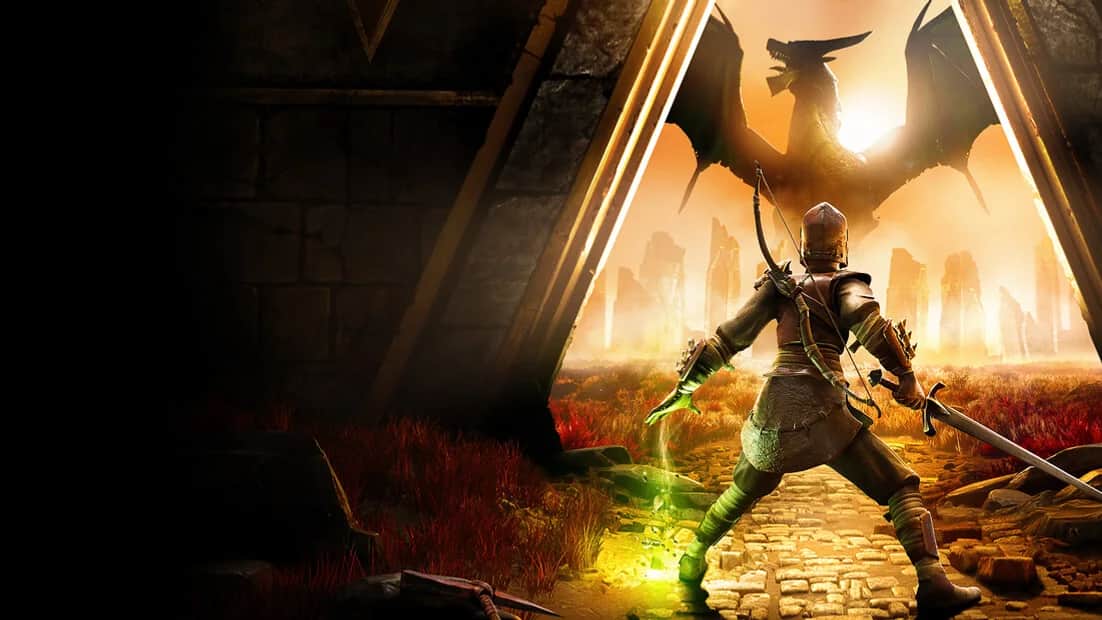
Practical routes through Ashenfall
Dragonwilds guides
Start from the question in front of you. Each guide connects preparation, materials and the next part of the journey.
Start and prepare
Build the camp, make your tools and plan the next fight.
Your first hour in Ashenfall
Build a useful camp, prepare food and water, and work towards your first mining upgrade.
Read the guide 02 / Tools & resourcesHow to get the Bone Pickaxe
The materials, leather chain and crafting station you need before mining copper and tin.
Read the guide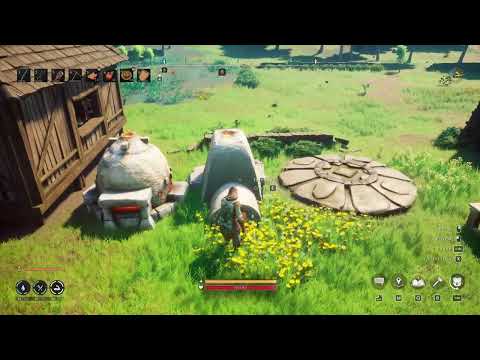 03 / Crafting progression
Dragonwilds Furnace recipes: every bar, cost and fuel
What the Furnace smelts on 1.0 (bronze, iron, silver, gold, blurite and salvage), what it costs to build, and the Charcoal it burns.
Read the guide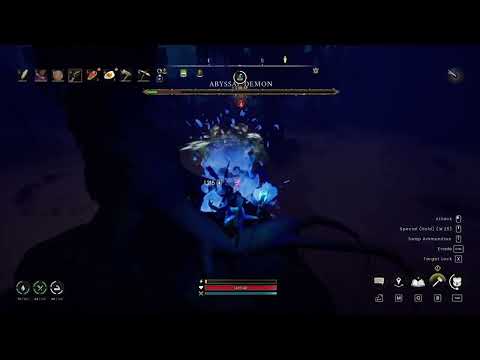 04 / Exploration
How to unlock fast travel
Build Lodestones, budget Vault Cores and leave room for the return journey.
Read the guide 05 / SurvivalHow healing works now
Current food, health progression and poison rules, with obsolete Early Access advice called out.
Read the guide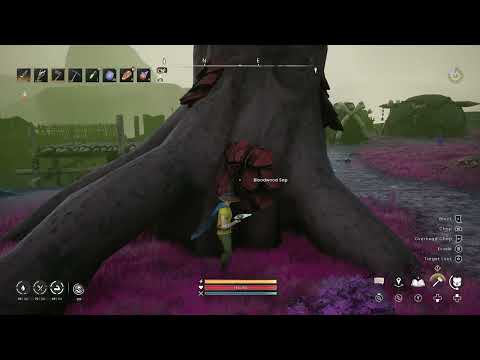 06 / First dragon
How to summon General Velgar and prepare for the fight
A preparation guide for the Dragon Slayer encounter, updated for the health rework.
Read the guideFind the missing material
Gathering routes connect named areas, tool requirements and the next upgrade.
 11 / Resource routes
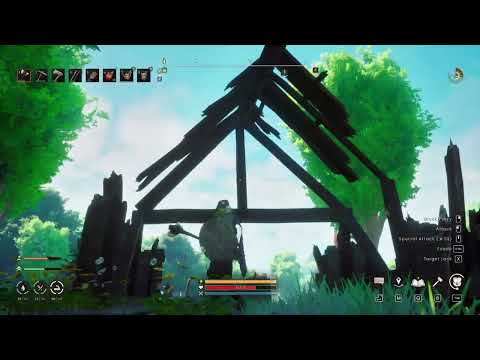
Flax, thread and leather: a Bramblemead gathering route
Gather blue-flowered Flax and animal materials, then turn the haul into thread and leather for your first upgrades.
Read the guide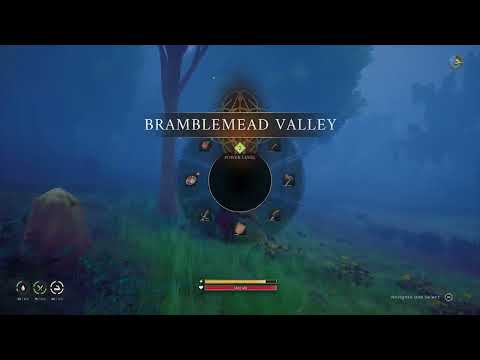 12 / Resource routes
Where to gather Clay for your Kiln and Furnace
Reach the eastern Whispering Swamp deposits with the right pickaxe and a construction budget.
Read the guide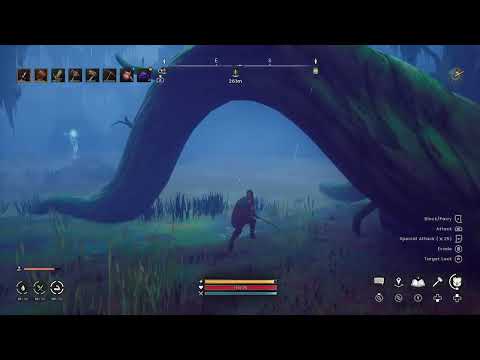 13 / Resource routes
Copper and Tin: your first Fractured Plains ore run
Cross from Whispering Swamp, recognise both ores and bring home a balanced load for bronze.
Read the guide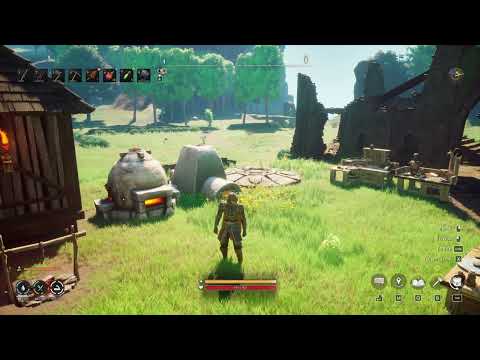 14 / Resource routes
Iron Ore: the eastern Stormtouched Highlands route
Prepare a Bronze Pickaxe, scout the Highlands border and return with enough ore for a specific upgrade.
Read the guide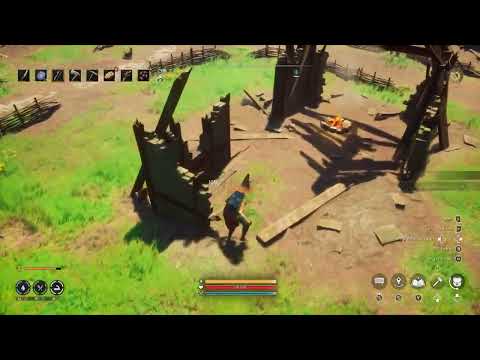 15 / Resource routes
Vault Shards and Cores: start with South Temple Woods
A landmark route through Crasorak Kara, with the distinction between dropped shards and collectible cores.
Read the guideFollow the story
Quest starts, progression gates and the hand-ins that finish each chapter. Contains story spoilers.
 16 / Quest progression
Quest progression: from Temple Woods to Umbral Sands
Find the next story quest, its starting point and the preparation that connects each region.
Read the guide 17 / Quest progressionDragon Slayer walkthrough: Cathan, the Challenge Horn and Velgar
Follow the quest from Bramblemead to the final hand-in, with the tools and material locations that block progression.
Read the guide 18 / Quest progressionWithering Heights: Fellhollow entry and the three Curse Fragments
Find the entry sequence, fragment locations, four Emberwood shrines and the hand-in after Imaru.
Read the guide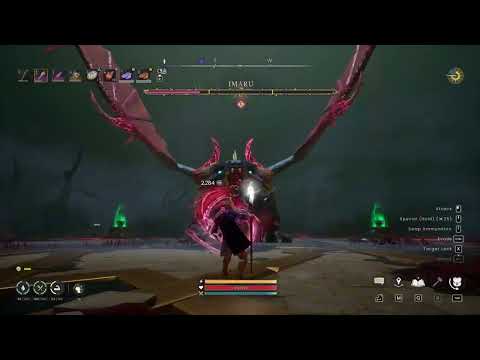 19 / Dowdun Reach · Main quest
Black Knight’s Fortress: Dowdun Reach walkthrough
Track all 13 Dreaming Stone shards, solve the fortress puzzles and finish the Black Knight Titan hand-in.
Read the guide 20 / Umbral Sands · Main questIcthlarin’s Little Helper: Umbral Sands walkthrough
Complete the nine Moon Garou tasks, collect three Mirror Lenses, clear the Trials of Fuzan and finish the head hand-in.
Read the guideDowdun and Umbral side quests
Optional investigations, combat contracts and desert surveys with start points, routes and hand-ins.
Biohazard: Dowdun Reach walkthrough
Find ten raven samples, Zanik's three ritual items and the Grand Hall source.
Read the guide 22 / Dowdun Reach · Side questWanted!: Dowdun Reach beast-tamer walkthrough
Find the Rat Master, Hound Master and Summoner, then recover all three journals.
Read the guide 23 / Dowdun Reach · Side questWhat's Theirs is Mine!: Dowdun portal walkthrough
Track Doric's mage through three fortress areas and unlock the nodestone bonus.
Read the guide 24 / Umbral Sands · Side questBrink of Extinction: Zi and Cave of Screams walkthrough
Feed Zi, light four pedestals, pass the bouncer and claim the obsidian cape unlock.
Read the guide 25 / Umbral Sands · Side questContact!: Umbral Sands vault-guardian walkthrough
Recover three Crystal Helix fragments and clear the Kalphite Hive shortcut.
Read the guide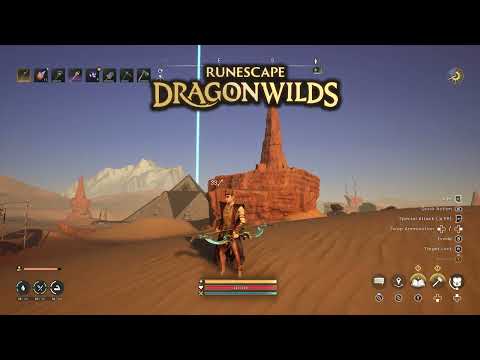 26 / Umbral Sands · Side quest
Mapping the Sands I: three Moon Sprites
Start Anamcara's first survey, find three high-place sprites and unlock the second survey.
Read the guide 27 / Umbral Sands · Side questMapping the Sands II: eight Moon Sprites
Sweep the eight Umbral Sands survey markers and claim the Bow of Elidinis recipe.
Read the guideGhosts, riddles, mounts and collections
Side quests from Bramblemead to Fellhollow with every location, puzzle answer and hand-in, plus the quest that unlocks your mount.
Restless Ghosts and Even More Restless Ghosts: every ghost location
Find all four Restless Ghosts by night, then Zanik’s three Fellhollow ghosts, with landmarks, hand-ins, rewards and the four-slot fix.
Read the guide 29 / Ghornfell · Side questDog Days: where a heart once beat, and the Garou King
Start Vannaka’s quest, solve the “where a heart once beat” riddle, beat the Garou King and claim the Garou Highborn’s Cloak.
Read the guide 30 / Fellhollow · Side questHow to get a mount: The Wild Hunt walkthrough and mount skins
Start The Wild Hunt, find all three Nature Spirits and unlock the Terrorbird, then summon it and change mount skins.
Read the guide 31 / Fellhollow · Side questWhat Remains is Written: all five books, three scrolls and the ring
Where all five of Abraxus’s books and three stolen scrolls are, what to wear to start, and how to claim the Abraxus Ring.
Read the guide 32 / Fellhollow · Side questMirror, Mirror: all six memorial candles and Ulv’s Longbow
Start at the crying mirror, gather three reagents, light all six memorial candles across Ashenfall and claim Ulv’s Longbow.
Read the guide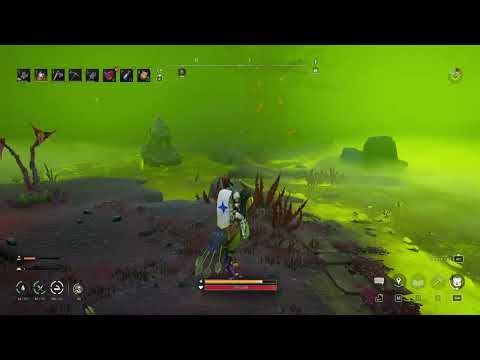 33 / Ghornfell · Side quest
The Great Body Robbery: grave locations and full walkthrough
Find all three Bloodblight Swamp graves, brew Fenkenstrain’s three weak potions, bottle a lightning strike and claim the Zombie Arm.
Read the guideBosses, gear and skills
The 30-wave Fight Cave, the Kalphite Queen, Ascension shards and cores for higher power levels, and Runecrafting up to Law Runes.
Fight Cave: how to get the Fire Cape in Umbral Sands
Unlock the 30-wave Fight Cave, prepare for every KotHaar wave, beat Fuzan for the Fire Cape and troubleshoot reported bugs.
Read the guide 35 / Umbral Sands · BossKalphite Queen: where to find her, her shades and her drops
Find both Kalphite Queen lairs, read her red, blue and green shades, get past the Guardians and check every 1.0 drop.
Read the guide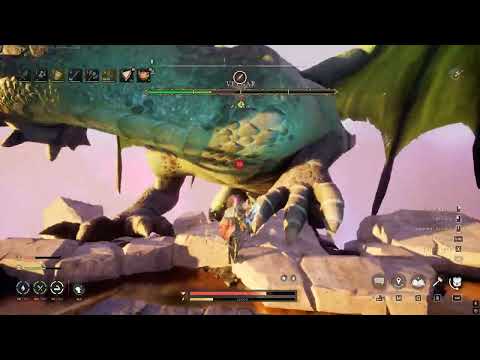 36 / Gear progression
Ascension Shards and Cores: where to farm every tier (4–9)
Where Ascension Shards 4–8 drop, what each Core upgrades, and how the four Nightmare Crucibles award power level 7 cores.
Read the guide 37 / Skills
Runecrafting: how to make runes, level up and farm Law Runes
Make every rune, level Runecrafting to Law Runes at 50, farm Law Anima Vents and check the 1.0.1.2 essence-counter fix.
Read the guideReturn to Ashenfall
Check movement and version changes before following older advice.
 07 / Movement
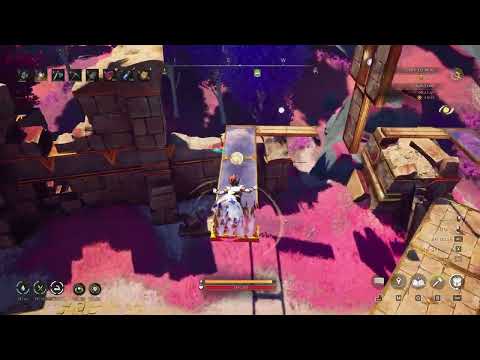
Agility, Windstep and safer traversal
Find the right skill tree and understand courses, shortcuts and Recall in 0.12.1.
Read the guide 08 / Version changesReturning for 1.0: what to check
Current 1.0.1 save, combat, inventory and quest changes, with remaining recovery limits and future chapters kept separate.
Read the guide1.0 launch and multiplayer
Prepare for the Scorned Wilderness endgame and bring the right world settings to a shared run.
Scorned Wilderness and Kuldra: the 1.0 endgame
Follow the source-labelled raid route, learn Kuldra’s Anima-and-cannon loop, and plan the 1.0 material chain and rewards.
Read the guide 10 / MultiplayerCrossplay and invite codes: join a Dragonwilds world
Enable crossplay, use invite codes, and find a dedicated server by its exact world name while checking patch rollout separately.
Read the guide