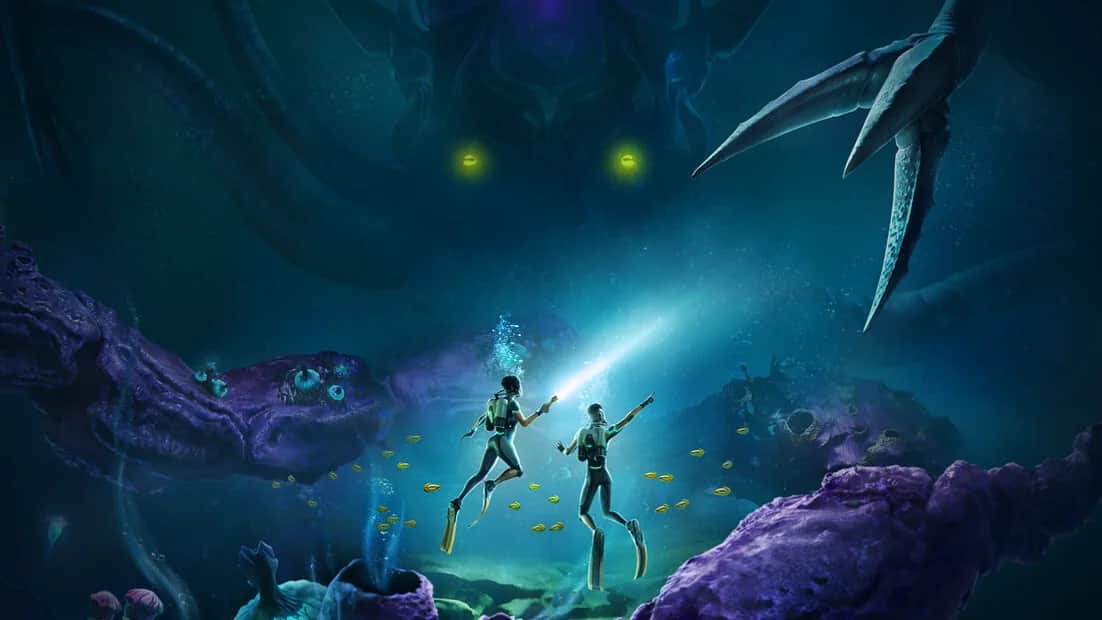
Early resource routes from the Lifepod
Quick answer
Use short loops near the Lifepod for organic materials. For Silver, look for loose deposits before you have the Sonic Resonator; large veins require the later mining tool.
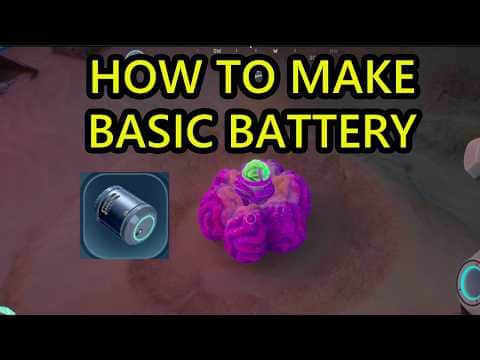 0:44–0:54Picking Copper off the cave walls
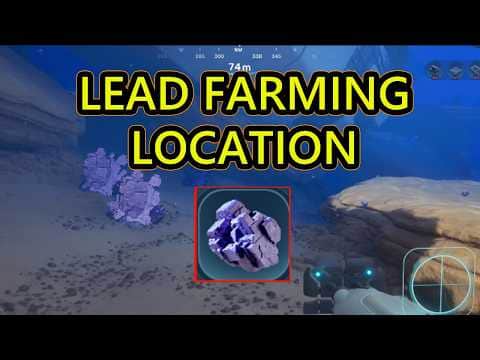 0:57–1:06Loose Lead pieces beside large veins in a ravine
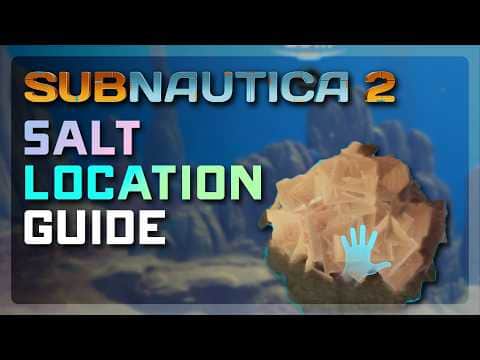 1:02–1:14Salt cave entrance and crystal
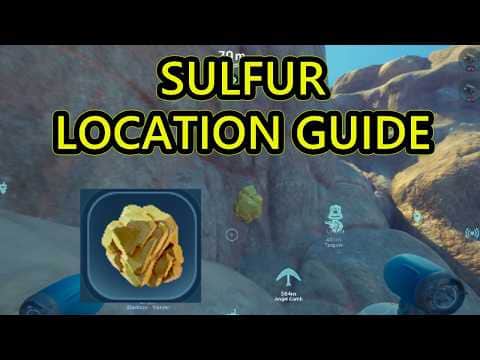 1:19–1:25Small loose Sulfur pieces on brown rock
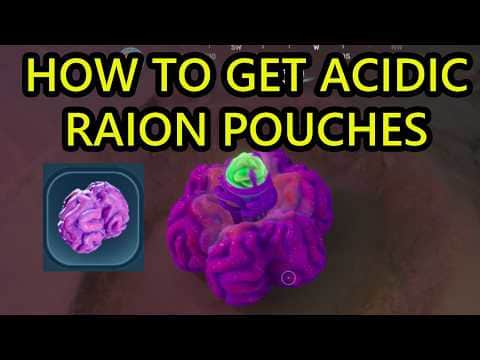 0:19–0:35Cutting Acidic Raion Pouches in the cave under the Lifepod
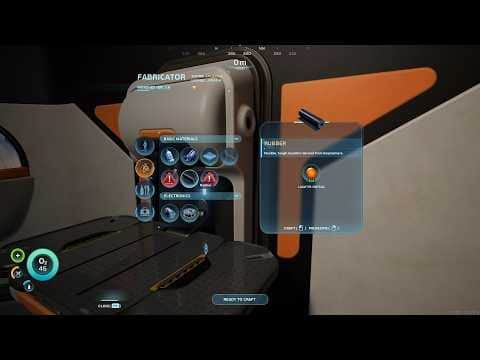 0:04–0:12Picking Lucifer Rotsacs out of their plants by hand
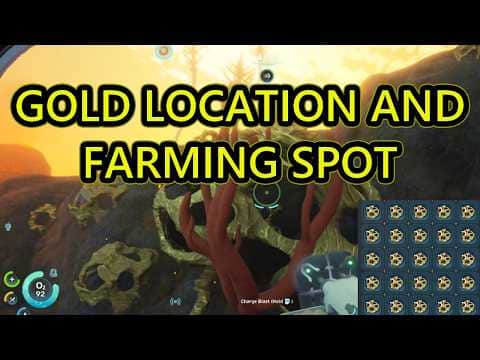 0:54–1:02A cage-like Gold deposit in hot orange water
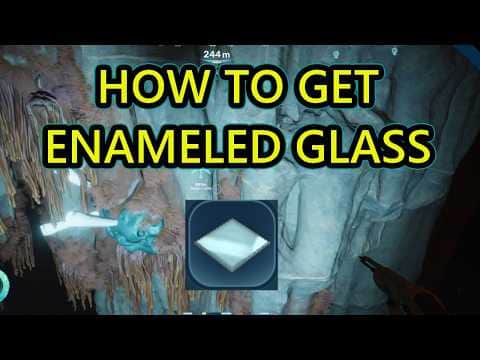 1:05–1:11A pale Creature Enamel spike on a blue-green deposit
See it first · Copper: check walls beneath the Lifepod ↓
Older footage · checked Oct 25, 2026 · before Subnautica 2 Early Access 1.2 (Buddy System, August 19, 2026)
0:44–0:54 · 10 sPicking Copper off the cave wallsCheck the guide’s version notes before following older footage.
Ape Knight GamingFull video ↗Credits
“Subnautica 2 How to Make Battery. Acidic Raion Pouch Location and Copper Location Guide” by Ape Knight Gaming · May 14, 2026 · Early Access launch window (uploaded 2026-05-14); predates the Adaptive Measures and Buddy System updates
Independent creator · no partnership implied
Before you start
Copper: check walls beneath the Lifepod
Search the cave beneath the Lifepod and nearby coral recesses. Check the walls and overhead surfaces. The Copper collection guide below explains pickups, mining tools and how much raw Copper to reserve for batteries and wiring.
Older footage · checked Oct 25, 2026 · before Subnautica 2 Early Access 1.2 (Buddy System, August 19, 2026)
0:44–0:54 · 10 sPicking Copper off the cave wallsOn screen: In a pinkish-brown cave at 27 to 30 m the diver finds brown-orange nuggets set into the rock walls, each under a Pick up Copper prompt, then rises toward the bright cave mouth above.
Check the guide’s version notes before following older footage.
Ape Knight GamingFull video ↗Credits
“Subnautica 2 How to Make Battery. Acidic Raion Pouch Location and Copper Location Guide” by Ape Knight Gaming · May 14, 2026 · Early Access launch window (uploaded 2026-05-14); predates the Adaptive Measures and Buddy System updates
Independent creator · no partnership implied
Sources for this section
Silver: check the cave before the northern ruins
Lead: gather loose pieces for the mining tool
Look for small Lead pickups in the ravine northeast of the Lifepod. Reserve 2 Lead for the Sonic Resonator; large veins need the finished tool. The Lead collection guide below supplies the published current and platform landmarks.
Older footage · checked Oct 25, 2026 · before Subnautica 2 Early Access 1.2 (Buddy System, August 19, 2026)
0:57–1:06 · 9 sLoose Lead pieces beside large veins in a ravineOn screen: In a sandy ravine at 74 to 79 m, small purple-white chunks lie on the sand next to a large purple blocky vein, with more small pieces scattered along the ravine floor.
Check the guide’s version notes before following older footage.
Ape Knight GamingFull video ↗Credits
“Subnautica 2 Lead Location Guide. How to Get Lead and Lead Farm in Subnautica 2” by Ape Knight Gaming · May 15, 2026 · Early Access launch window (uploaded 2026-05-15); predates the Adaptive Measures and Buddy System updates
Independent creator · no partnership implied
Salt: look near Chap’s black-box cave
Search the cave near Chap’s habitat southeast of the Lifepod for loose Salt. The Salt collection guide below gives the published pillar landmarks and explains how to reserve supplies for Power Cells, food and water.
Older footage · checked Oct 25, 2026 · before Subnautica 2 Early Access 1.2 (Buddy System, August 19, 2026)
1:02–1:14 · 12 sSalt cave entrance and crystalOn screen: A cave mouth at 40 m has a light glowing inside; on the cave wall a pale orange crystal carries a Pick up Salt prompt while an oxygen warning shows.
Check the guide’s version notes before following older footage.
Chupacabra TutorialsFull video ↗Credits
“Subnautica 2 Salt Location Guide — Find Crystalized Salt South Past the Welcome Center” by Chupacabra Tutorials · May 19, 2026 · Early Access launch window (uploaded 2026-05-19); predates the Adaptive Measures and Buddy System updates
Independent creator · no partnership implied
Sources for this section
Sulfur: search beyond the Welcome Center
The Sulfur collection guide below covers a first pickup, the mining-tool requirement for large deposits and the Repair Tool recipe disagreement.
Older footage · checked Oct 25, 2026 · before Subnautica 2 Early Access 1.2 (Buddy System, August 19, 2026)
1:19–1:25 · 6 sSmall loose Sulfur pieces on brown rockOn screen: On steep brown rock faces between about 78 and 95 m, small lumpy yellow crystal pieces sit loose against the stone.
Check the guide’s version notes before following older footage.
Ape Knight GamingFull video ↗Credits
“Subnautica 2 Sulfur Location Guide. How to Get Sulfur and Where to Find Sulfur in Subnautica 2” by Ape Knight Gaming · May 16, 2026 · Early Access launch window (uploaded 2026-05-16); predates the Adaptive Measures and Buddy System updates
Independent creator · no partnership implied
Sources for this section
Acidic Raion: cut the outer pouches first
Check the cave directly under the Lifepod or the lower cave roughly 30 m east. More plants grow around and beneath the Welcome Center, about 70 m southeast.
Cut away the outer Acidic Raion Pouches before taking the central Medical Gel Sack. Removing the centre early releases acid. Each plant can supply several pouches; do not take damage for one last harvest.
Older footage · checked Oct 25, 2026 · before Subnautica 2 Early Access 1.2 (Buddy System, August 19, 2026)
0:19–0:35 · 16 sCutting Acidic Raion Pouches in the cave under the LifepodOn screen: The diver swims beneath the orange Lifepod into a cave below; at about 37 m the Multitool cuts the outlined purple outer pouches from an Acidic Raion plant, and the inventory then shows several purple pouches.
Check the guide’s version notes before following older footage.
Ape Knight GamingFull video ↗Credits
“Subnautica 2 How to Get Acidic Raion Pouch. Acidic Raion Pouch Location Guide for Battery Craft” by Ape Knight Gaming · May 14, 2026 · Early Access launch window (uploaded 2026-05-14); predates the Adaptive Measures and Buddy System updates
Independent creator · no partnership implied
Sources for this section
Lucifer Rotsacs: southwest arch loop
Around 80 m southwest, search the rocky arch for green Cradle Shootroots containing glowing orange Rotsacs. Pick the Rotsacs by hand; cutting the plant requires the Multitool. Two Rotsacs make one Rubber at the Fabricator.
Older footage · checked Oct 25, 2026 · before Subnautica 2 Early Access 1.2 (Buddy System, August 19, 2026)
0:04–0:12 · 8 sPicking Lucifer Rotsacs out of their plants by handOn screen: On sandy seabed at about 12 m, plants with green fronds hold glowing orange orbs in star-shaped orange cups; with the Multitool aimed the prompt offers to cut the plant, then the diver reaches in by hand under a Pick up Lucifer Rotsac prompt.
Check the guide’s version notes before following older footage.
MonkeyKingHeroFull video ↗Credits
“How to Get Lucifer Rotsac & Craft Rubber in Subnautica 2” by MonkeyKingHero · May 14, 2026 · Early Access launch window (uploaded 2026-05-14); predates the Adaptive Measures and Buddy System updates
Independent creator · no partnership implied
Sources for this section
Fibrous Pulp: recognise the plants
Gold: prepare for the eastern heat
Use the Gold collection guide below for heat preparation, the eastern wreck landmark and collection methods. Check your intended recipe before deciding how much stock to bring home.
Older footage · checked Oct 25, 2026 · before Subnautica 2 Early Access 1.2 (Buddy System, August 19, 2026)
0:54–1:02 · 8 sA cage-like Gold deposit in hot orange waterOn screen: In orange-tinted water at about 48 m, a rounded, cage-like yellow deposit clings to a rock wall; the diver aims the Sonic Resonator at it, blasts it, and small yellow pieces drift free.
Check the guide’s version notes before following older footage.
Ape Knight GamingFull video ↗Credits
“Subnautica 2 Gold Location Guide. How to Get Gold and Best Gold Farming Location or Farming Spot” by Ape Knight Gaming · May 17, 2026 · Early Access launch window (uploaded 2026-05-17); predates the Adaptive Measures and Buddy System updates
Independent creator · no partnership implied
Creature Enamel: mine near the Alien Ruins
The Creature Enamel guide below separates two published landmarks, explains the Sonic Resonator pickup and connects the material to the Enameled Glass recipe.
Older footage · checked Oct 25, 2026 · before Subnautica 2 Early Access 1.2 (Buddy System, August 19, 2026)
1:05–1:11 · 6 sA pale Creature Enamel spike on a blue-green depositOn screen: In a pale-rocked cavern at about 245 m, a white needle-like spike juts from a blue-green deposit among brown fronds, and the diver lines up the Sonic Resonator on it.
Check the guide’s version notes before following older footage.
Ape Knight GamingFull video ↗Credits
“Subnautica 2 How to Get Enameled Glass. Creature Enamel Location and Enameled Glass Location” by Ape Knight Gaming · May 19, 2026 · Early Access launch window (uploaded 2026-05-19); predates the Adaptive Measures and Buddy System updates
Independent creator · no partnership implied
You’re ready when…
Did this answer your question?