






The short answer
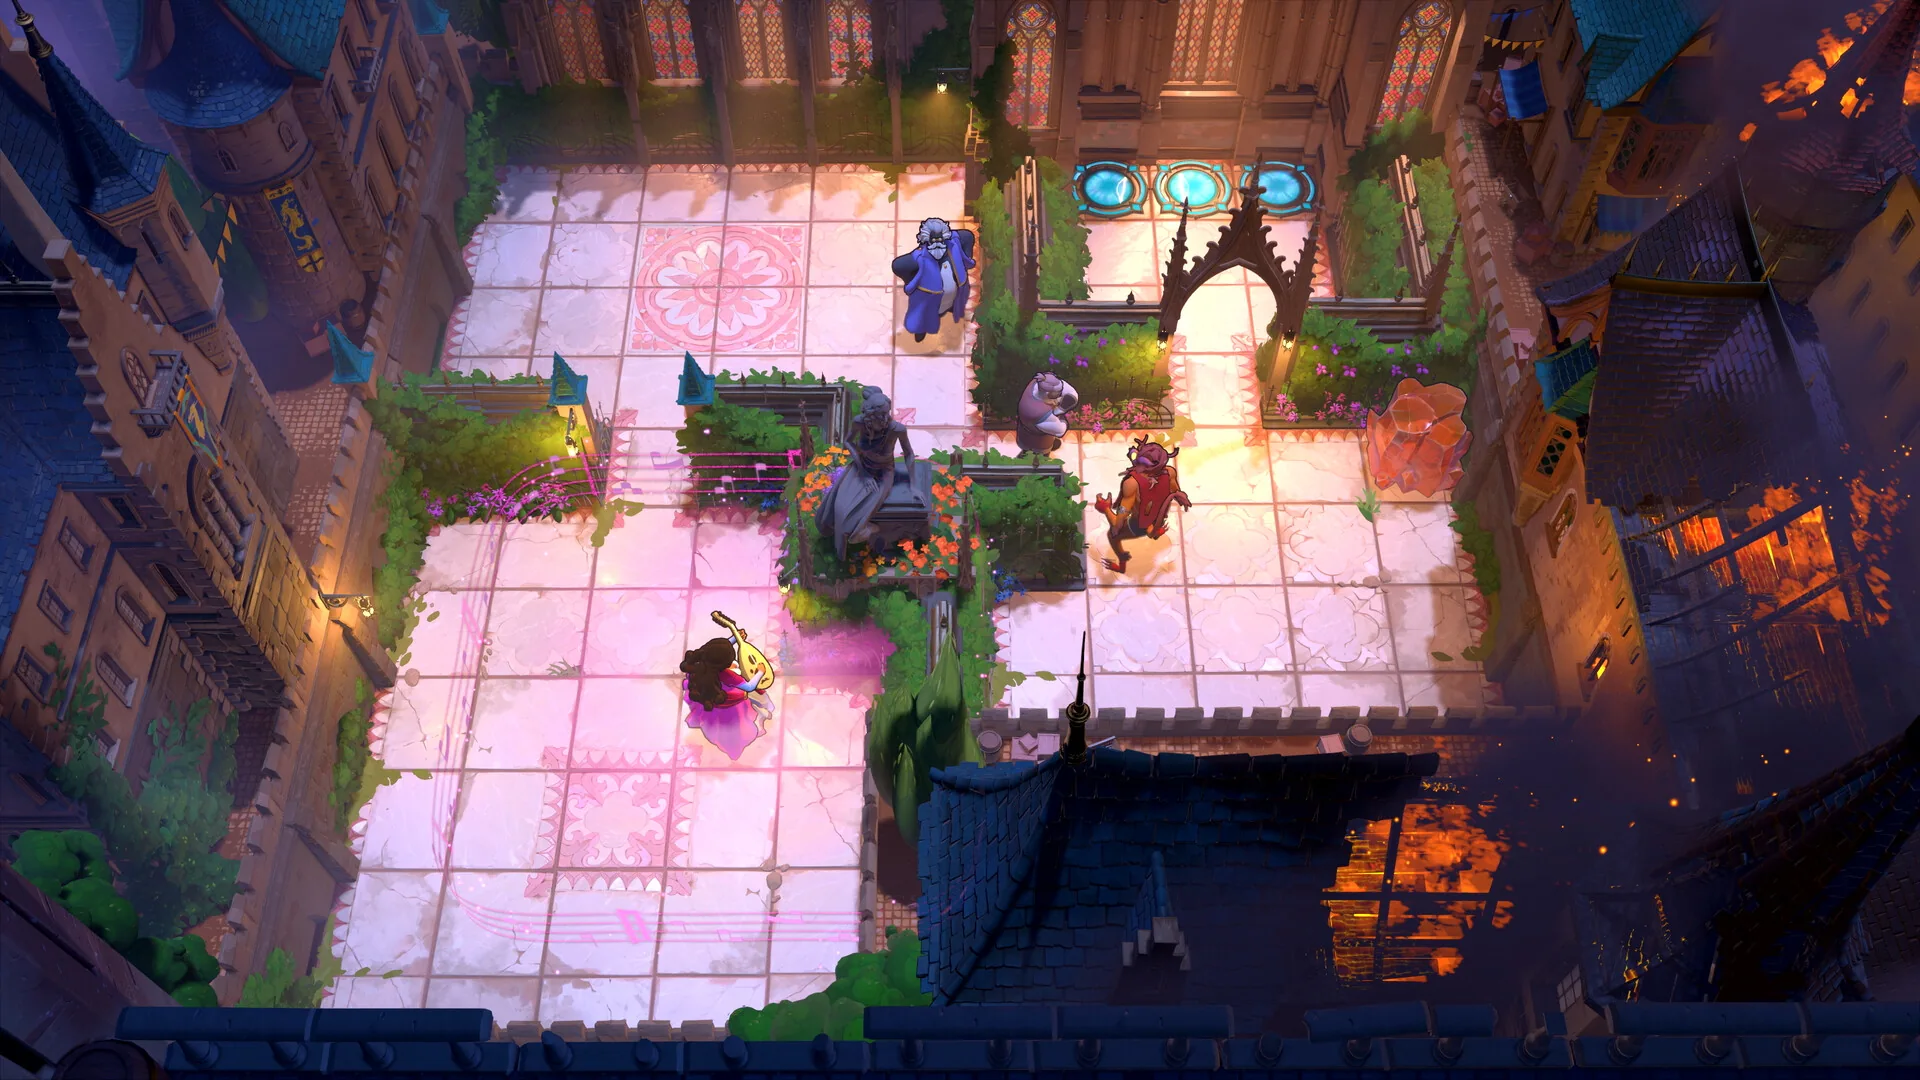
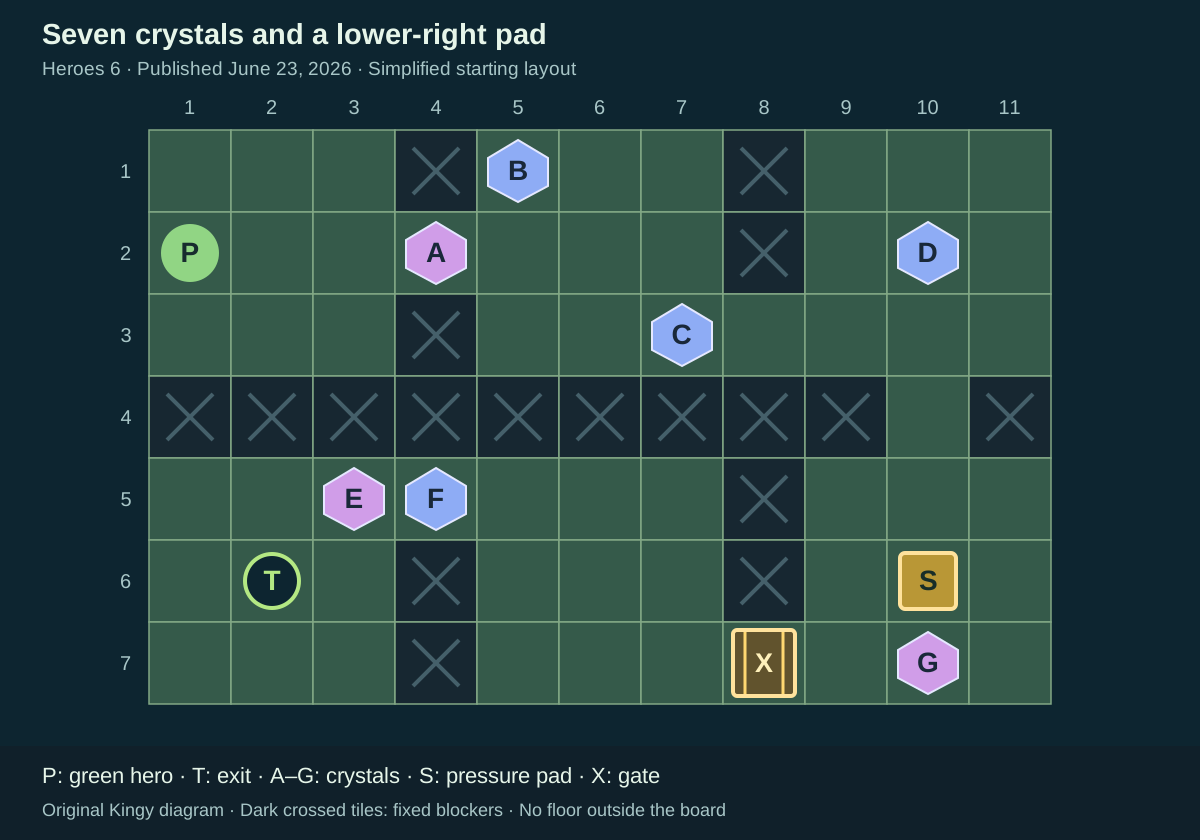
A green hero starts in the upper-left of six connected chambers. Seven crystals occupy the upper passages and lower chambers. A yellow pad lies in the lower-right chamber, an energy gate blocks the bottom connection, and the green exit lies lower-left.
Before you start
- Start from an untouched or reset room matching the green hero and diagram. The source was published June 23, 2026; its native build number is not visible.
Match the starting layout
This is the sixth Heroes room completed in Cappa Games’ recording, following the green-hero corridor. Its matching community identifier is heroes1_5_v2; that identifier is not displayed in the native footage. The starting layout is visible around 4:00–4:01.
Columns run left to right and rows run top to bottom. P marks the green hero, A–G the seven crystals, S the pad, X the energy gate and T the exit. These labels and coordinates are editorial references. Directions describe the board, not keyboard or controller bindings.
Sources for this section
- Cappa Games | Playthroughs: The first six recorded Heroes of Hauling rooms: native demo gameplay · Checked 2026-09-13 · Published 2026-06-23
- Joric and contributors: Demo map and community-reported level identifiers · Checked 2026-09-13
- Joric: How the demo level identifiers were recorded · Checked 2026-09-13
- Arc Games Europe: Demo Content Update Now Live · Checked 2026-09-13 · Published 2026-06-19
- Thekla / Arc Games: Official developer announcements · Checked 2026-09-13
Hint 1 — where to look Reveal solution / story details
The upper-middle chamber needs room to walk around its crystals. Check where the doorway crystal stops before moving either blue crystal.
Sources for this section
- Cappa Games | Playthroughs: The first six recorded Heroes of Hauling rooms: native demo gameplay · Checked 2026-09-13 · Published 2026-06-23
Hint 2 — the useful arrangement Reveal solution / story details
Leave a crystal on the lower-right pad. Then move the blue crystal from the lower divider into the middle chamber and down, creating a route around the last purple crystal.
Sources for this section
- Cappa Games | Playthroughs: The first six recorded Heroes of Hauling rooms: native demo gameplay · Checked 2026-09-13 · Published 2026-06-23
Full solution and gameplay Reveal solution / story details
The footage contains an abandoned upper-middle arrangement, then a visible rewind around 4:25–4:30. The steps below combine the observed opening left pulls with the revised successful route and omit the abandoned placements. In that successful setup, A stops in the divider opening; moving it farther right reproduces the earlier attempt.
This route moves crystals eighteen tiles by pulling: A left two and right two; B down one; C up one; D down two; G up one; F right two and down one; E right three and left three. Ordinary walks connect the observed positions and omit incidental detours. This is not an input log or a minimum-move claim.
Kingy has not completed this room in the native game or community recreation. The source shows the exit and subsequent transition, but no build number or exact pull/rewind binding. One green hero remains active throughout.
Cappa Games’ native demo recording, published June 23, 2026. This guide covers approximately 4:00–5:03. The recording includes a failed attempt and rewind before its successful route. Exact build not shown; later solutions follow.
Gameplay recorded by Cappa Games | Playthroughs. Order of the Sinking Star © Thekla / Arc Games.
YouTube connects when you load the player. No autoplay. If playback is unavailable, use the YouTube link.
- Walk right two tiles to stand immediately left of purple crystal A. Pull A left twice, to column 2, row 2. The hero finishes at column 1, row 2.
- Walk around A’s top side: up one, right two and down one. From column 3, row 2, pull A right twice. Stop with A in the divider opening at column 4, row 2, and the hero at column 5, row 2.
- You are directly below blue crystal B. Pull B down once to column 5, row 2; the hero finishes at column 5, row 3.
- Walk right one, up two, right one and down one to column 7, row 2, directly above blue crystal C. Pull C up once. C reaches column 7, row 2, and the hero reaches column 7, row 1.
- Go around C’s west side and along the bottom of the upper chambers. Reach column 10, row 3, directly below blue crystal D. Pull D down twice through the vertical connection. D finishes at column 10, row 4; the hero finishes at column 10, row 5.
- Leave D in the connection. Walk right one, down one and left one to approach the yellow pad from its east side. From the pad at column 10, row 6, pull purple crystal G up once onto it. The hero returns to column 10, row 5. G now holds the gate open.
- Walk around G’s west side and through the open gate at column 8, row 7. In the lower-middle chamber, reach column 5, row 5, immediately right of blue crystal F. Pull F right twice. F reaches column 6, row 5; the hero reaches column 7, row 5.
- Walk down one and left one to column 6, row 6, directly below F. Pull F down once: F reaches column 6, row 6, and the hero reaches column 6, row 7.
- Walk left one, up two and left one to column 4, row 5, immediately right of purple crystal E. Pull E right three tiles into the middle chamber. E finishes at column 6, row 5; the hero finishes at column 7, row 5.
- Go around the bottom of F: down two, left two and up two. From column 5, row 5, immediately left of E, pull E left three tiles through the opening. E returns to column 3, row 5, and the hero finishes at column 2, row 5.
- Walk down once onto the green exit at column 2, row 6. The occupied exit is visible by about 5:01–5:02, followed by the white completion fade and the next room.
Sources for this section
- Cappa Games | Playthroughs: The first six recorded Heroes of Hauling rooms: native demo gameplay · Checked 2026-09-13 · Published 2026-06-23
Research checked 2026-09-13. This is a source-based guide; Kingy has not independently play-tested these steps in the native game. Evidence and coverage.