









The short answer
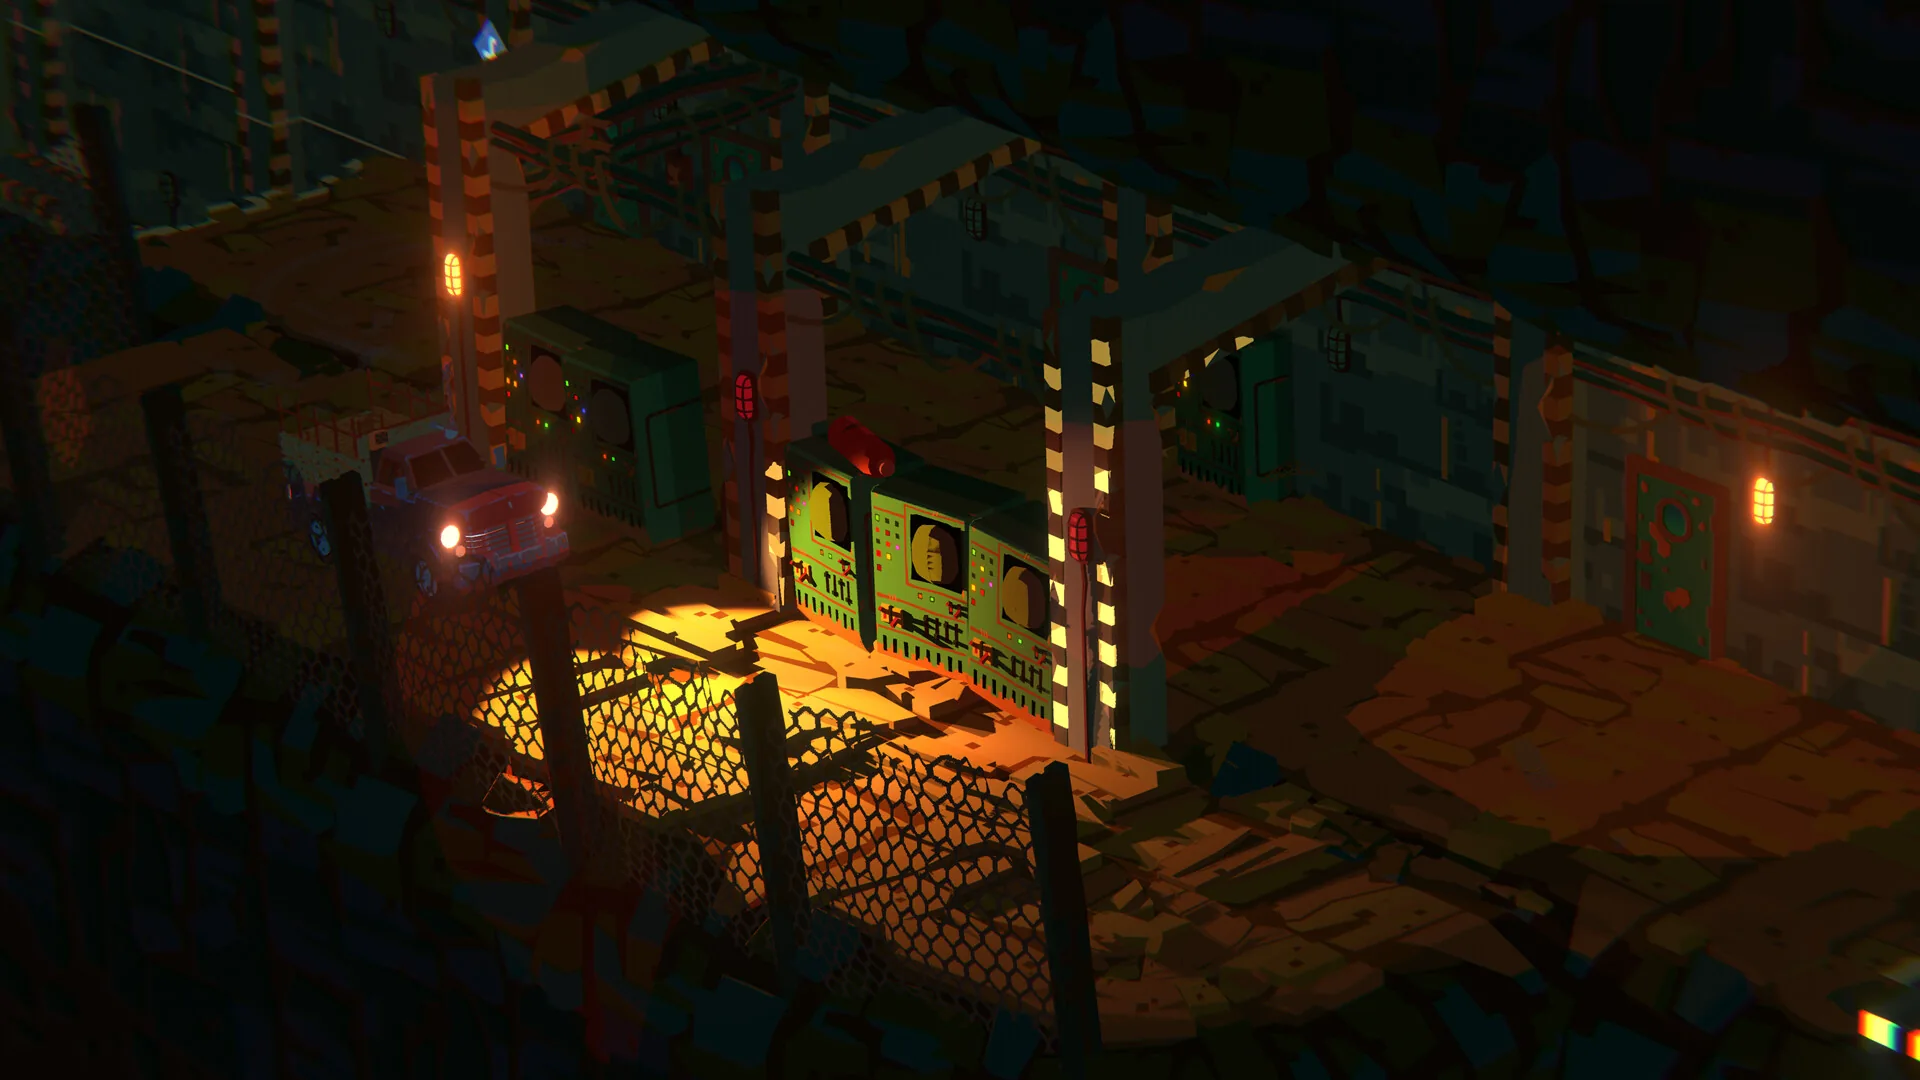
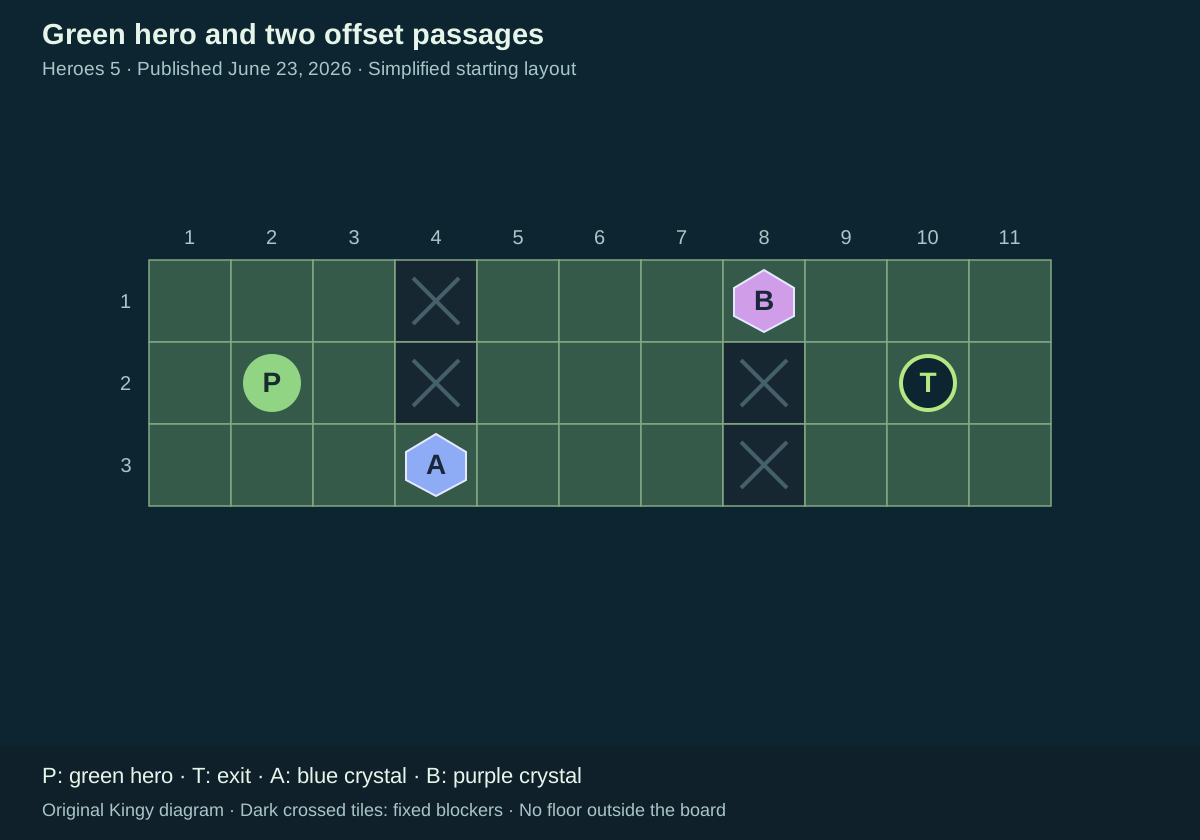
A green-clothed hero starts on the left of a corridor with two offset openings. A blue crystal blocks the lower-left opening and a purple crystal blocks the upper-right opening. A green exit lies in the right section.
Before you start
- Start from an untouched or reset room matching both the hero and diagram. The source was published June 23, 2026; its native build number is not visible.
Match the starting layout
This is the fifth Heroes room completed in Cappa Games’ recording. After returning to the overworld from the three-pad room, the creator enters an upper-right purple entrance at about 3:31. The corridor resembles the first room, but the green hero and green exit distinguish this starting state. Its matching community identifier is heroes1_4.5; that identifier is not displayed in the native footage.
The diagram numbers columns from left to right and rows from top to bottom. P marks the hero, T the exit and letters A–C the crystals present. Pad and gate labels appear where those objects exist. These labels and coordinates are editorial references; directions describe the board, not fixed keyboard or controller bindings.
Sources for this section
- Cappa Games | Playthroughs: The first six recorded Heroes of Hauling rooms: native demo gameplay · Checked 2026-09-13 · Published 2026-06-23
- Joric and contributors: Demo map and community-reported level identifiers · Checked 2026-09-13
- Joric: How the demo level identifiers were recorded · Checked 2026-09-13
- Arc Games Europe: Demo Content Update Now Live · Checked 2026-09-13 · Published 2026-06-19
- Thekla / Arc Games: Official developer announcements · Checked 2026-09-13
Hint 1 — where to look Reveal solution / story details
Watch what happens when the green hero moves away from an adjacent crystal.
Sources for this section
- Cappa Games | Playthroughs: The first six recorded Heroes of Hauling rooms: native demo gameplay · Checked 2026-09-13 · Published 2026-06-23
Hint 2 — the useful arrangement Reveal solution / story details
First draw each blocking crystal two tiles left so the hero can walk around it. Then move it back through the passage from its other side.
Sources for this section
- Cappa Games | Playthroughs: The first six recorded Heroes of Hauling rooms: native demo gameplay · Checked 2026-09-13 · Published 2026-06-23
Full solution and gameplay Reveal solution / story details
The successful sequence at about 3:52–3:58 uses eleven tile pulls: blue left two and right four, then purple left two and right three. Each named crystal follows the hero in that direction. The earlier movement attempts are not required steps. No physical pull button or modifier is verified, and the entrance’s A-button prompt does not establish the pull control. This is not an optimal-route claim or a general rule about everything this hero can move.
The source shows the critical movements, occupied exit and subsequent transition or overworld return. Kingy has not replayed this room in the native demo or completed it in the community recreation. No character switch is shown inside this recorded room.
Cappa Games’ native demo recording, published June 23, 2026. This guide covers approximately 3:33–4:00. Exact build not shown. The video continues into other solutions.
Gameplay recorded by Cappa Games | Playthroughs. Order of the Sinking Star © Thekla / Arc Games.
YouTube connects when you load the player. No autoplay. If playback is unavailable, use the YouTube link.
- From the untouched start, walk down one and right one to column 3, row 3, immediately left of blue crystal A.
- Pull A left two tiles. A moves from column 4 to column 2 on row 3, while the hero moves from column 3 to column 1.
- Walk around A’s north side: up one, right two and down one. You finish at column 3, row 3, immediately right of A.
- Pull A right four tiles through the lower opening. A finishes at column 6, row 3; the hero finishes at column 7, row 3.
- Walk up two to column 7, row 1, immediately left of purple crystal B. Pull B left twice: B reaches column 6 and the hero reaches column 5.
- Walk around B’s south side: down one, right two and up one. You finish at column 7, row 1, immediately right of B.
- Pull B right three tiles through the upper opening. B ends at column 9, row 1; the hero ends at column 10, row 1.
- Walk down one onto the green exit. The occupied exit is visible at about 3:58, followed by a white transition at about 3:59 and the next room at about 4:00.
Sources for this section
- Cappa Games | Playthroughs: The first six recorded Heroes of Hauling rooms: native demo gameplay · Checked 2026-09-13 · Published 2026-06-23
Research checked 2026-09-13. This is a source-based guide; Kingy has not independently play-tested these steps in the native game. Evidence and coverage.