Offer ten Withered bones at the prepared skull altar after drinking poison-resistance mead. Fight with the mace in short openings, leave the poison cloud, and clear summoned enemies before returning to the boss. Secure the Wishbone and trophy, then prepare frost resistance before entering the Mountains.
Rest at the staging shelter, eat and allow health to recover, then repair and equip the intended weapon and armor.
Drink poison-resistance mead and check its active timer. Take the bones to the altar, use its offering interaction, and move into the cleared loop as the boss appears.
Keep enough stamina for your next retreat. Open with a short attack opportunity so you can see the windups rather than committing to a long combo immediately.
Bonemass favors blunt damage and strongly resists the piercing damage of ordinary arrows. The bow that carried the Elder fight is therefore a poor default here. Keep your attention on enemy count, footing, stamina and the poison-mead timer; interrupting your own damage cycle is preferable to losing the route to the portal.
Bonemass attack responses
Cue
Response
Next priority
A close-range arm swing
Move out of reach or dodge the hit; do not hold an unproven block and trade damage.
Take a brief mace opening only if you still have escape stamina.
Leaning back to release poison
Leave the cloud area immediately. Resistance reduces the danger but is not permission to remain inside.
Use the cleared loop while the area is hazardous.
Reaching into the body and throwing a glob
Watch where it lands and move so the spawned skeletons and blobs cannot surround you.
Clear the adds with the mace before resuming boss damage.
Your arrows barely scratch him. Think about what kind of weapon breaks a body made of bones, and what you drink before walking into his poison.
Hint 2
Bring an iron mace and poison resistance mead. When he leans back to release poison, leave the cloud; when he throws a glob, clear the skeletons and blobs it spawns before you go back to hitting him.
Low health, fading food, a nearly empty stamina bar, a worn weapon or an expiring resistance effect are reasons to create distance. Use healing in a safe opening and watch its cooldown. If supplies will not last, retreat along the known route and restock. Never summon a second boss to replace an unfinished attempt.
After death, eat and take poison resistance from the home reserve before using the portal. Bring a backup weapon and keep inventory space for your gear. Approach the grave from the cleared side; if the boss is standing over it, lead it away before doubling back. Retrieve, equip and leave the dangerous area before reorganizing the inventory. If another rush would repeat the same failure, rebuild the supply kit and change the approach first.
In a group, call out when someone is recovering and have a surviving player draw attention away from the grave. Keep the boss away from the portal and reserve chest; a recovery point inside the fighting loop can turn one death into a lost foothold.
When Bonemass dies, deal with remaining enemies and collect the Wishbone and Bonemass trophy. Bring them to safety before exploring farther.
Hang the trophy on the matching Sacrificial Stone at spawn and interact to select the power if wanted. Read its current tooltip before relying on it; it does not supply Mountain frost protection.
Store or equip the Wishbone for the next trip. It only detects buried resources while equipped, and it shares an accessory slot with Megingjord.
Repair and restock the base, then follow the Mountain-entry guide to brew frost mead. The Wishbone helps find silver; it does not mine silver or prevent freezing.
After “The Mass ceases its writhing”, pick up the Bonemass Trophy and the Wishbone from the remains before you leave; “New Item: Wishbone” and “Trophy collected” confirm both.
Check that you are using the iron mace and connecting hits. Ordinary arrows are poorly suited to this fight. Short controlled mace openings with add control are the default route.
Poison still hurts after taking mead.
Resistance is not immunity, and drinking after poison starts does not undo that existing exposure. Leave the cloud, heal in space and renew protection before the next exposure.
The grave is under the boss.
Use the home food and poison-mead reserve, then draw the boss away from the grave before circling back. Recovering equipment and retreating is the immediate objective.
Did this answer your question?
Sources · 10community · official · checked 29 Sep 2026 · Patch notes checked to 1.0.16
Valheim Wiki: Bonemass ↗Swamp altar and locator, ten Withered bones, the three attack patterns, Wishbone and trophy rewards.community ·
Valheim Wiki: Boss strategies ↗Blunt damage and poison resistance for Bonemass; terrain preparation, avoiding Moder attacks, and repair planning.community ·
Say where you’re stuck in Valheim. You get one hint at a time from a published kingy.wiki guide, and the answer and its clip stay covered until you ask.
If nothing matches, we keep your words (without emails, links or long numbers) to decide which answers to write next. Privacy

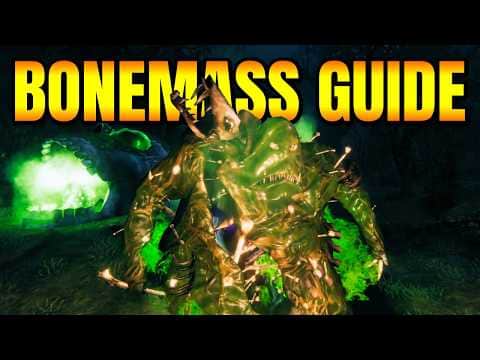 1:36–2:00 · 24 s“The blob is moving”: Bonemass rises from the altar
 8:12–8:24 · 12 sPicking up the Bonemass Trophy and the Wishbone