








The short answer
In the southwest chamber, leave with the corner gem and the gem used to activate the cyan beam. This guide follows the recorded route from one carried gem to two, then through the central chamber’s eastern passage.
Before you start
- Match the June 16 recording: southwest chamber with two boulders, a cyan emitter, an empty entry socket and a gem in the lower-right corner.
- Begin the southwest route carrying one gem, as shown at 1:05–1:10. The earlier extraction and northern deposit are described below. The current native demo build has not been checked.
Find the southwest starting checkpoint
Directions refer to up, down, left and right in the recording. The Promise is one continuous map with connected chambers. The chamber names here describe landmarks; they are not native puzzle identifiers.
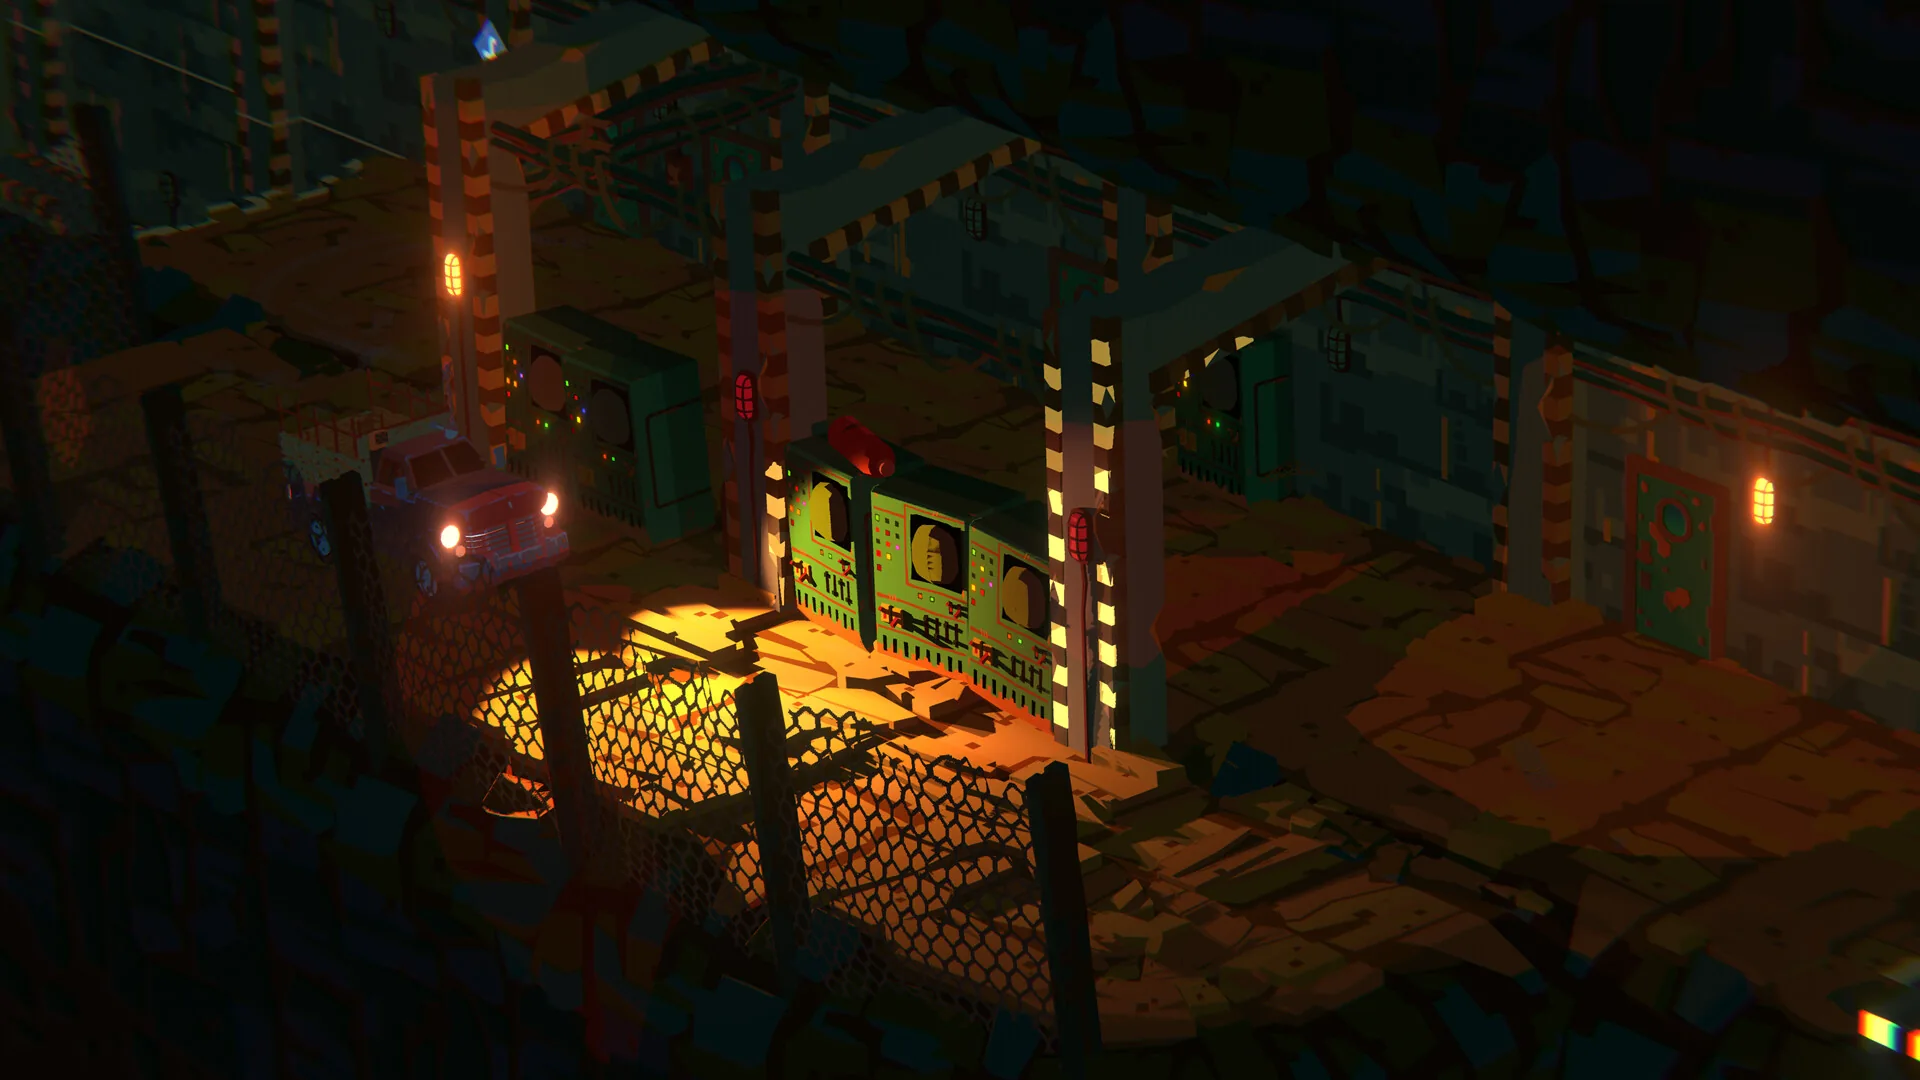
At 1:05 the player has recovered the gem from the northeastern socket in the northern yellow chamber. The socket is empty and its yellow beam is off. Follow the western corridor south to the southwest chamber shown at 1:10. Its empty socket sits near the upper-left entry, beside a cyan emitter pointing right. One boulder is in the beam’s lane; the other is one row below toward the right. A separate blue gem is in the lower-right corner.
If you have not reached that checkpoint, the recording first takes a blue gem from the alcove east of the northern chamber at 0:10, deposits it in the northern socket at 0:14, and later retrieves that same gem at 1:04–1:05. The intervening northern sequence removes two boulders; its exact removal command has not been established. This walkthrough begins after that sequence and does not claim a tested shortcut through it.
Joric’s June 16, 2026 upload. Native build unknown. These checkpoints establish the starting supply and layout; the southwest walkthrough begins with one carried gem.
Original gameplay: Joric. Game: Thekla / Arc Games.
YouTube connects when you load the player. No autoplay. If playback is unavailable, use the YouTube link.
Sources for this section
- Joric: The Promise western demo: opening gem route · Checked 2026-09-13 · Published 2026-06-16
Hint 1: account for both gems Reveal solution / story details
Powering the cyan chamber uses the gem you brought with you. After reaching the corner, check where that first gem is still sitting.
Sources for this section
- Joric: The Promise western demo: opening gem route · Checked 2026-09-13 · Published 2026-06-16
Hint 2: separate the two boulders Reveal solution / story details
Move the boulder in the cyan lane toward the far-right wall. The lower boulder needs room below it so you can approach the corner from its right side.
Sources for this section
- Joric: The Promise western demo: opening gem route · Checked 2026-09-13 · Published 2026-06-16
Reveal the southwest route Reveal solution / story details
1. At the upper-left entry socket, deposit your carried gem. Around 1:12 the socket turns blue and the cyan beam activates. Use the gem interaction shown by your configured controls; V is the prompt visible in this recording.
2. Enter the cyan lane and push its boulder right until it reaches the far-right wall. The recorded endpoint is visible at 1:17.
3. Turn down toward the lower boulder and push it down one tile into the bottom row. Step around its right side to reach the lower-right corner.
4. Collect the corner gem. It is gone by 1:19, when the counter reads Gems: 1 and the cyan beam is still active.
5. Return upward to the middle lane, walk left and return to the entry socket. Recover the deposited gem. The counter becomes Gems: 2 around 1:23; by 1:24 the socket is empty and the cyan beam is off. Leave through the northern approach.
If the counter shows only one after the corner pickup, the activation gem is still in the entry socket. Compare that socket and the beam before leaving. These observations verify the two pushes in this powered chamber; broader cyan ability rules remain untested.
Watch from the matching one-gem starting state. The final local result is two carried gems, an empty entry socket and an extinguished cyan beam.
Original gameplay: Joric. Game: Thekla / Arc Games.
YouTube connects when you load the player. No autoplay. If playback is unavailable, use the YouTube link.
Sources for this section
- Joric: The Promise western demo: opening gem route · Checked 2026-09-13 · Published 2026-06-16
Reveal the carried-gem checkpoints Reveal solution / story details
The displayed counter tracks the gems being carried during this route. A deposit reduces the carried supply, so the number does not increase steadily as you progress.
| Checkpoint | Carried gems | Socket and beam |
|---|---|---|
| 1:05, after northern recovery | 1 | Northern socket empty; yellow off |
| 1:10, southwest entry | 1 | Entry socket empty; cyan off |
| 1:19, after corner pickup | 1 | Activation gem still deposited; cyan on |
| 1:23–1:24, after recovering deposit | 2 | Entry socket empty; cyan off |
| 1:34, central red deposit | 1 | Central socket filled; red on |
Sources for this section
- Joric: The Promise western demo: opening gem route · Checked 2026-09-13 · Published 2026-06-16
Reveal the central chamber’s east passage Reveal solution / story details
Return to the original central chamber with both gems. At 1:32 its socket is empty and a short wall separates the central vertical passage from the red-tinted boundary on the east.
Deposit one gem in the central socket. At 1:34 the red beam is active and the counter reads Gems: 1. Walk north around the top of the short wall, then turn east toward the boundary. The player crosses and reveals the adjacent chamber by 1:39.
The red square remains visibly tinted during the approach. Use the crossing position in the video to compare your route. This is an access step; no additional gem is collected here.
The recorded crossing follows the red deposit. The exact native build is not shown.
Original gameplay: Joric. Game: Thekla / Arc Games.
YouTube connects when you load the player. No autoplay. If playback is unavailable, use the YouTube link.
Sources for this section
- Joric: The Promise western demo: opening gem route · Checked 2026-09-13 · Published 2026-06-16
Source and route limits
The source was published June 16, 2026, before the June 19 demo content update. Match the visible layout before following the route. Kingy reviewed the critical video states twice; no native or community-game replay of this route was performed.
The guide ends after the central eastern crossing. Green-power requirements, the later yellow chamber’s rock-removal command and the rest of the western world remain unresolved. The source title mentions 20 gems, but that full completion was not reviewed.
Sources for this section
- Joric: The Promise western demo: opening gem route · Checked 2026-09-13 · Published 2026-06-16
- Arc Games Europe: Demo Content Update Now Live · Checked 2026-09-13 · Published 2026-06-19
Your checklist
0 of 2 complete · Loading saved progress…
Research checked 2026-09-13. This is a source-based guide; Kingy has not independently play-tested these steps. Evidence and coverage.