










The short answer
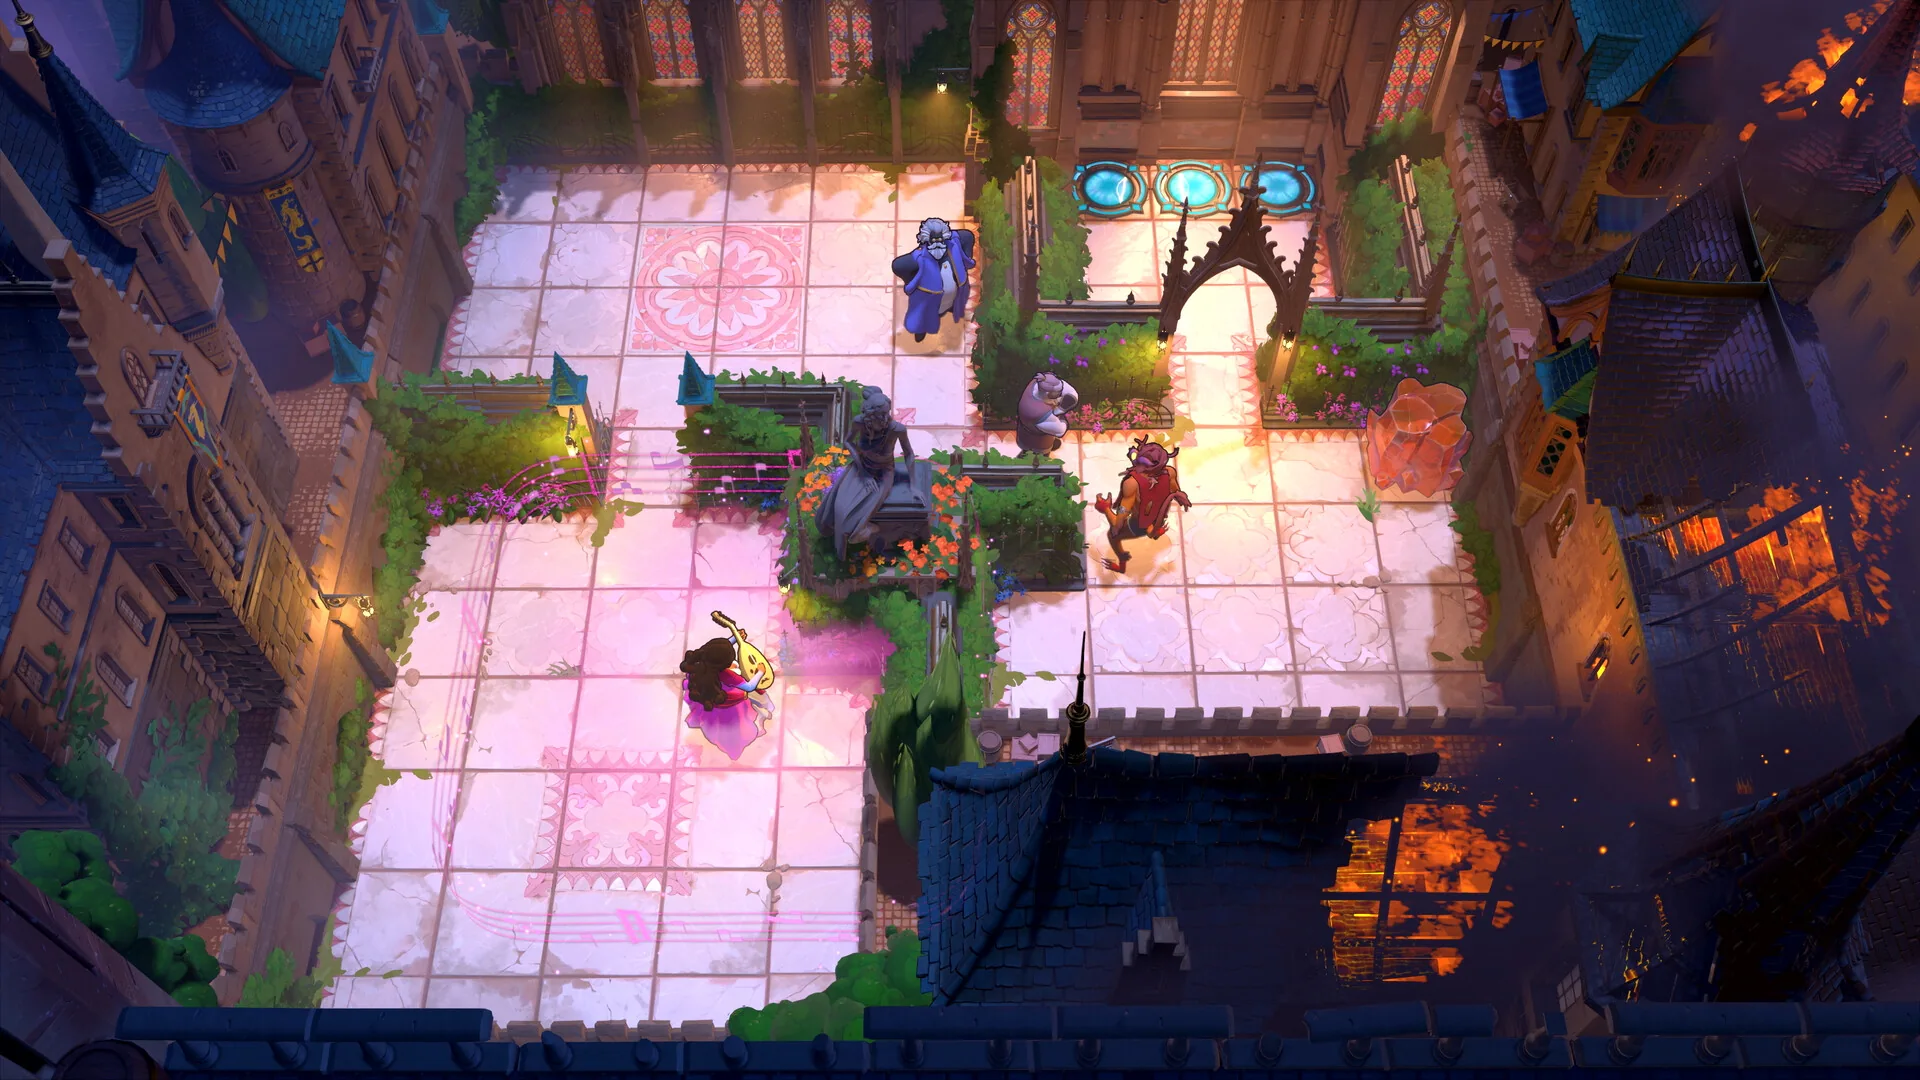
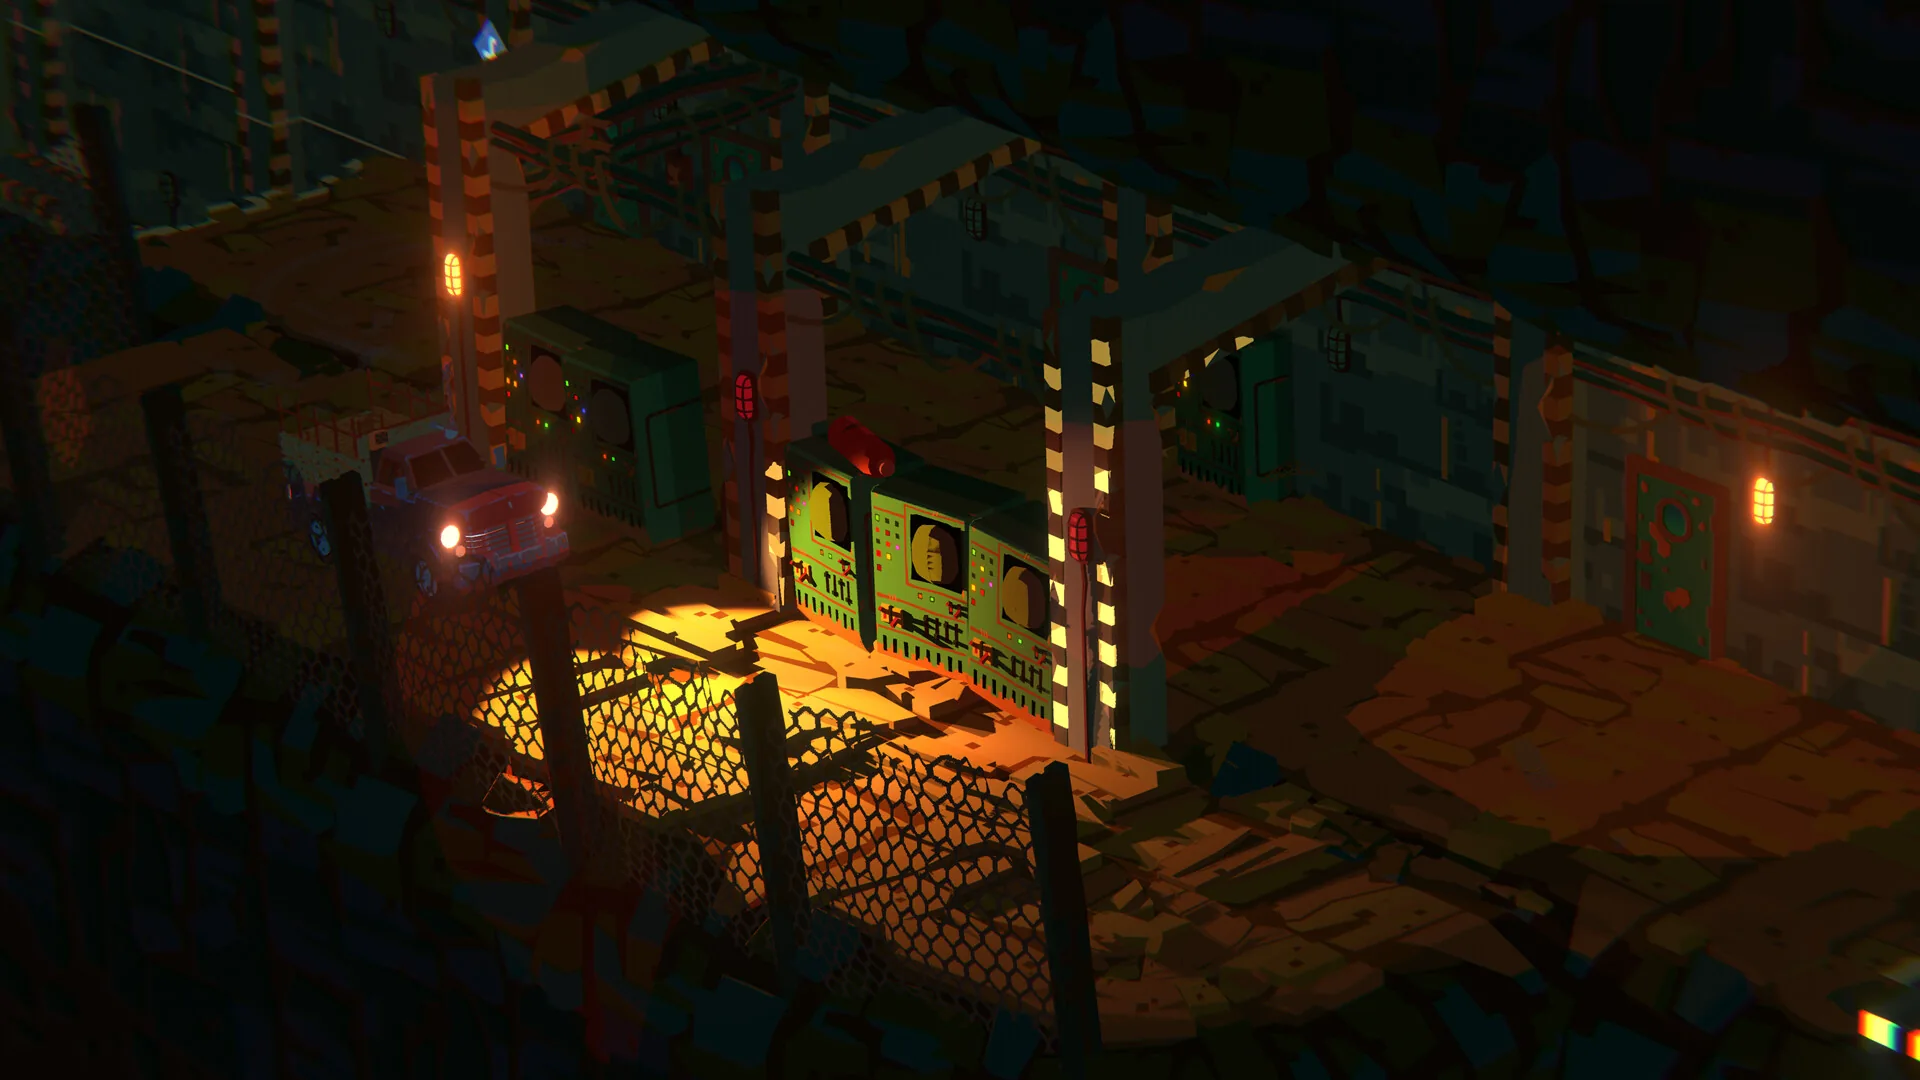
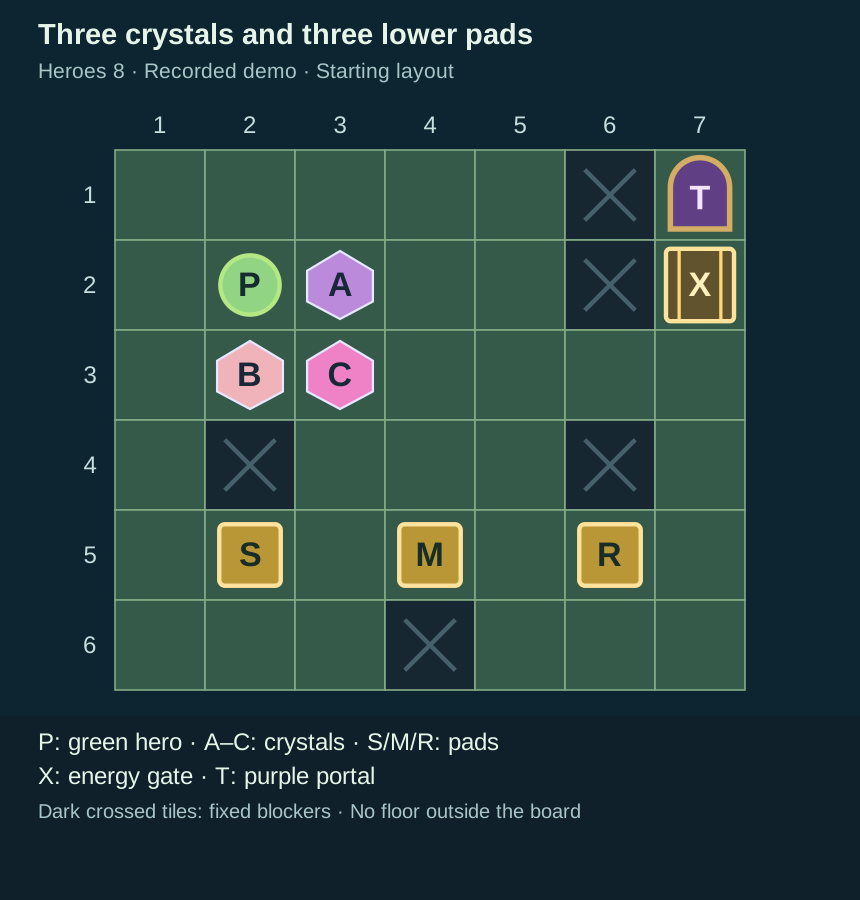
A green hero and three crystals start in the upper-left area. Three gold pads occupy the lower row above the bottom edge. Fixed thorn blocks interrupt the lower approaches, and an energy gate stands below the purple portal in the upper-right corner.
Before you start
- Start from an untouched or reset room matching this diagram and green hero. The source was published June 23, 2026; its native build number is not visible.
Match the starting layout
This is the eighth Heroes room completed in Cappa Games’ recording. The matched community layout is heroes1_6; this identifier is not printed in the native footage.
Columns run left to right and rows top to bottom. Coordinates such as (3,2) mean column 3, row 2. P marks the green hero. The diagram’s labels are editorial references; directions describe movement on the board, not keyboard or controller bindings. The top floor row is part of the room. Crossed cells at (2,4), (6,4) and (4,6) represent fixed thorn blocks; those at (6,1) and (6,2) represent the dividing wall.
Sources for this section
- Cappa Games | Playthroughs: The first eight recorded Heroes of Hauling rooms: native demo gameplay · Checked 2026-09-13 · Published 2026-06-23
- Joric and contributors: Demo map and community-reported level identifiers · Checked 2026-09-13
- Joric: How the demo level identifiers were recorded · Checked 2026-09-13
- Arc Games Europe: Demo Content Update Now Live · Checked 2026-09-13 · Published 2026-06-19
- Thekla / Arc Games: Official developer announcements · Checked 2026-09-13
Hint 1 — where to look Reveal solution / story details
The barrier stays open while all three pads are occupied. Plan for a crystal to hold each pad after the hero leaves.
Sources for this section
- Cappa Games | Playthroughs: The first eight recorded Heroes of Hauling rooms: native demo gameplay · Checked 2026-09-13 · Published 2026-06-23
Hint 2 — the useful arrangement Reveal solution / story details
The crystal that first occupies the left pad can later move onto the middle pad. That frees the left pad for the remaining crystal.
Sources for this section
- Cappa Games | Playthroughs: The first eight recorded Heroes of Hauling rooms: native demo gameplay · Checked 2026-09-13 · Published 2026-06-23
Full solution and gameplay Reveal solution / story details
The recording includes eastern and western trials, rewind-style reversals, and temporary middle-pad occupation by the hero. The steps below omit those loops and retain the successful placements. They use 21 tile pulls. C’s recorded up-and-back detour and A’s two down-and-back detours are omitted; the relevant crystal positions are the same when the next retained action begins.
The steps describe a supported route, with ordinary walks between crystal transfers. Pull counts are editorial displacement counts, not a recorded input log or a minimum-move claim. Kingy has not completed this room in the native game or community recreation. The recording shows the exit and transition; exact pull/rewind bindings and current native-build compatibility remain unverified.
Cappa Games’ native demo recording, published June 23, 2026. This guide covers approximately 6:33–8:35. Exact build not shown; later solutions follow.
Gameplay recorded by Cappa Games | Playthroughs. Order of the Sinking Star © Thekla / Arc Games.
YouTube connects when you load the player. No autoplay. If playback is unavailable, use the YouTube link.
- From the start, pull B up once from (2,3) to (2,2). The hero ends at (2,1). Walk along the top row to A’s east and pull A right once to (4,2). Get below it and pull down once to (4,3).
- Get below C at (3,4) and pull it down twice, to (3,5). Circle through the bottom-left corner and pull C left once onto pad S at (2,5).
- Get east of B at (3,2) and pull it right once to (3,2). You now stand above A at (4,2): pull A up once to (4,2). This order leaves room to reposition both crystals.
- Walk left along the top row, down through column 2 and right to stand below B at (3,3). Pull B down three tiles to (3,5). The hero finishes at (3,6).
- Walk around the bottom-left corner and back to the upper area. Stand below A at (4,3), then pull it down once to (4,3). From the hero’s new position at (4,4), walk right, down and left to (4,5). Pull B right three tiles onto pad R at (6,5).
- Leave A at (4,3). Reach its west side and pull left once to (3,3). The recording briefly tests a lower position for A before returning it here; that down-and-back test is omitted from these steps.
- Walk around the left thorn block through the far-west edge and bottom-left corner. Stand east of C at (3,5), then pull it right twice onto middle pad M at (4,5). The left pad is now free.
- Get below A at (3,4) and pull it down twice to (3,5). Walk left and up around its southwest corner to (2,5), then pull A left once onto pad S at (2,5). A holds the left pad, C the middle and B the right; the gate clears.
- Leave all three crystals on their pads. Walk back north along the western edge, across row 3 and north through X at (7,2) onto the purple portal T at (7,1). The hero occupies the portal around 8:33; the following fade returns to the overworld.
Sources for this section
- Cappa Games | Playthroughs: The first eight recorded Heroes of Hauling rooms: native demo gameplay · Checked 2026-09-13 · Published 2026-06-23
Research checked 2026-09-13. This is a source-based guide; Kingy has not independently play-tested these steps in the native game. Evidence and coverage.