


The short answer
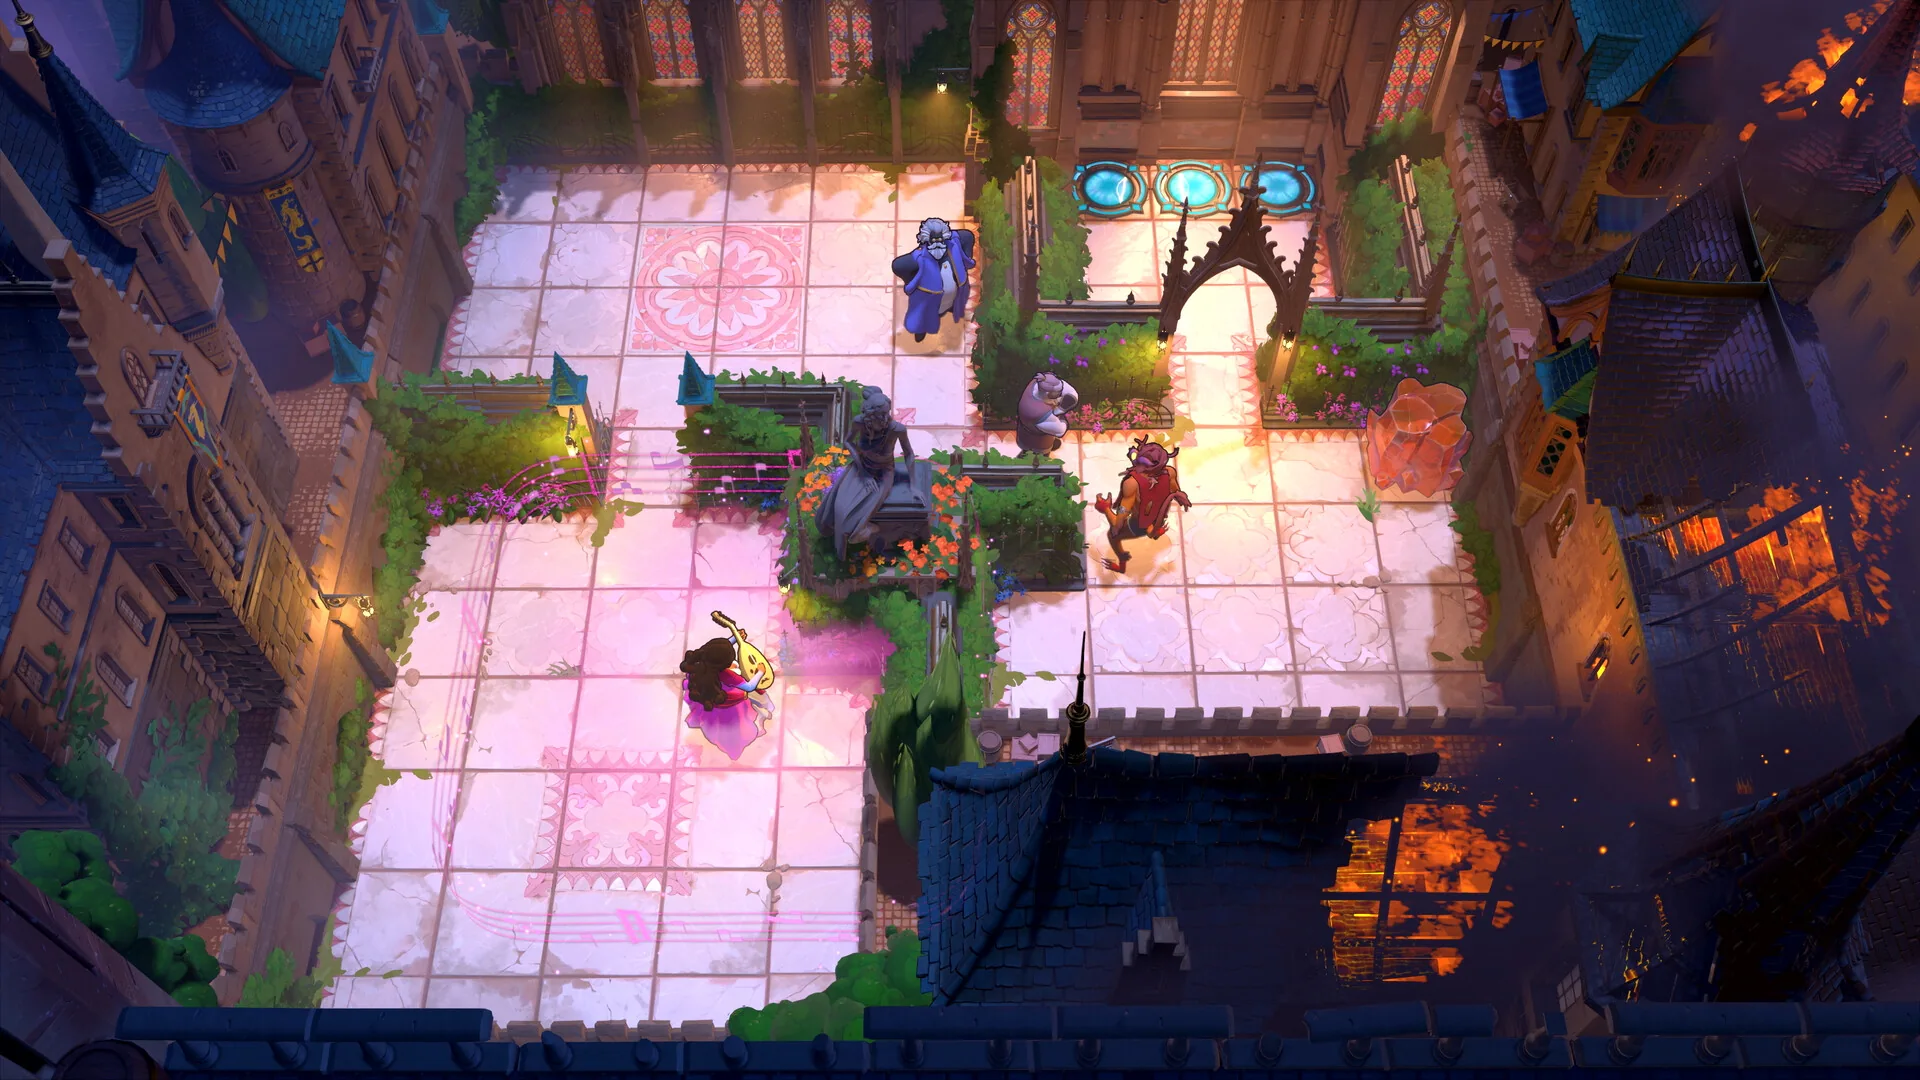
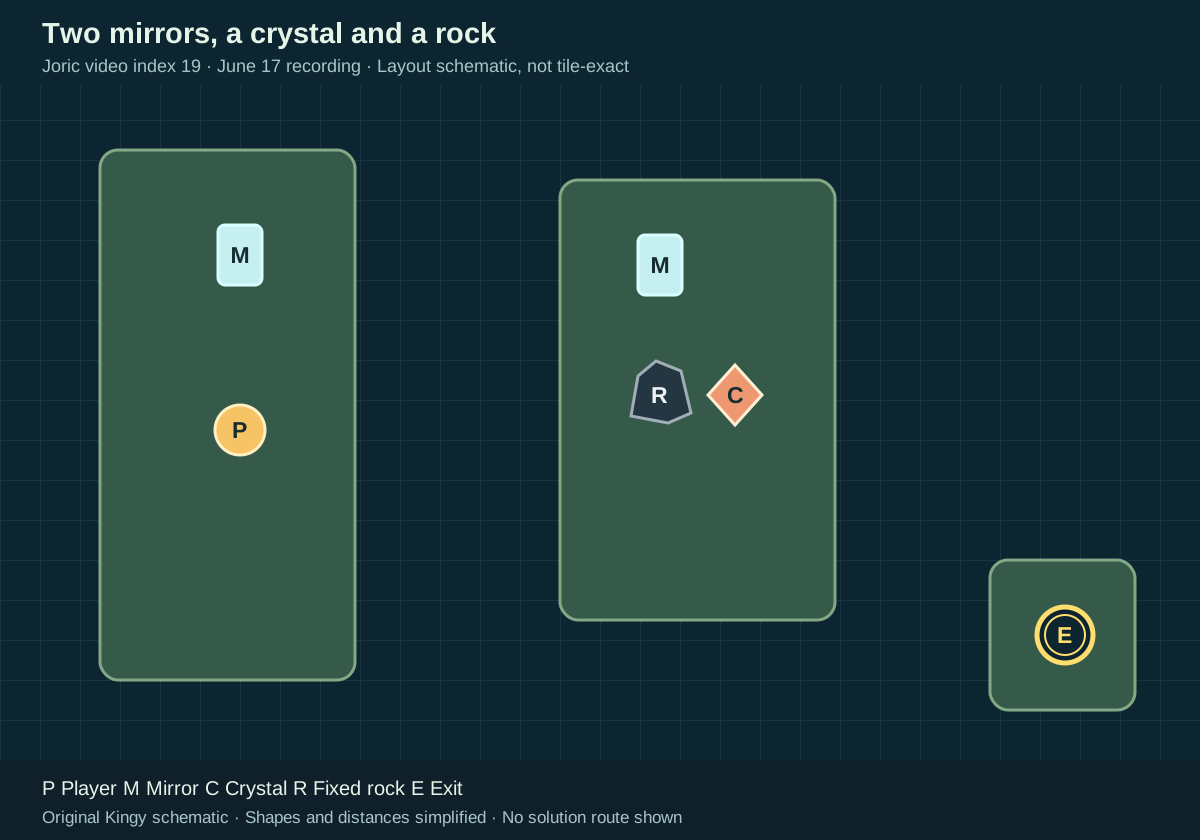
A trader and mirror start on the long left island. The central island holds a second mirror, one orange crystal and a fixed dark rock. The crystal begins immediately right of the rock. A separate exit island lies lower-right.
Before you start
- Start from a reset room matching the diagram. The demo recording was published June 17, 2026; its exact build number is not shown.
Match the starting layout
Joric video entry 19 · Community map identifier: mirror_factory_v2. The diagram shows the starting landmarks; use the video for exact tile positions and mirror angles.
Sources for this section
- Joric: Mirror Isles: 23 demo puzzle solutions · Checked 2026-09-13 · Published 2026-06-17
- Joric and contributors: Demo map and community-reported level identifiers · Checked 2026-09-13
- Joric: How the demo level identifiers were recorded · Checked 2026-09-13
- Arc Games Europe: Demo Content Update Now Live · Checked 2026-09-13 · Published 2026-06-19
- Thekla / Arc Games: Official developer announcements · Checked 2026-09-13
Hint 1 — a direction to explore Reveal solution / story details
The two mirrors can reflect the same crystal to different places. Watch which position can continue producing a usable crystal after the first one moves away.
Sources for this section
- Joric: Mirror Isles: 23 demo puzzle solutions · Checked 2026-09-13 · Published 2026-06-17
Hint 2 — the useful arrangement Reveal solution / story details
Keep a crystal on the left island and leave both mirrors aligned. Their reflections can produce another crystal to the right of the central mirror each time you use the previous one for the crossing.
Sources for this section
- Joric: Mirror Isles: 23 demo puzzle solutions · Checked 2026-09-13 · Published 2026-06-17
Observed solution and gameplay Reveal solution / story details
The repeated copies depend on the two-mirror arrangement and the stationary left-island crystal. Keep that setup intact while moving each new right-hand crystal. Only one crystal is present in the starting room.
Joric’s demo recording, published June 17, 2026. Review this room from 8:32; the observed closing state is at 9:12.5. Exact build not shown. The video continues into other puzzle solutions.
Gameplay recorded by Joric. Order of the Sinking Star © Thekla / Arc Games.
YouTube connects when you load the player. No autoplay. If playback is unavailable, use the YouTube link.
- Push the left mirror north and use it to reflect onto the central island (8:38). Move the central mirror north until it stands above the fixed rock (8:43).
- Bring the crystal left around the rock’s lower side, then push it north into the square immediately below the central mirror. Check for two previews: one on the southern tip of the left island and one immediately right of the central mirror (8:45–8:46).
- Activate reflection. The original crystal becomes two solid crystals at those preview positions. Leave the left-island crystal and both mirrors in place. The left crystal reflects into the empty square below the central mirror, which projects a further crystal to its right (8:47–8:48).
- Push the right-hand crystal down around the fixed rock and into the water just beyond the central island’s southeast edge. It supplies the first tile of the crossing. Activate reflection again to produce another crystal immediately right of the central mirror (8:52–8:53).
- Push the new crystal down to that row, then east across the first submerged crystal and into the next water gap. Repeat the reflection and pushing cycle until three submerged crystals extend east toward the exit island (9:08).
- Bring a fourth crystal down and push it east across the row into the last gap beside the exit island (9:09–9:12). Cross all four submerged crystals, then walk down onto the exit. The trader is centred on it at 9:12.5.
Sources for this section
- Joric: Mirror Isles: 23 demo puzzle solutions · Checked 2026-09-13 · Published 2026-06-17
Research checked 2026-09-13. This is a source-based guide; Kingy has not independently play-tested these steps in the native game. Evidence and coverage.