The short answer
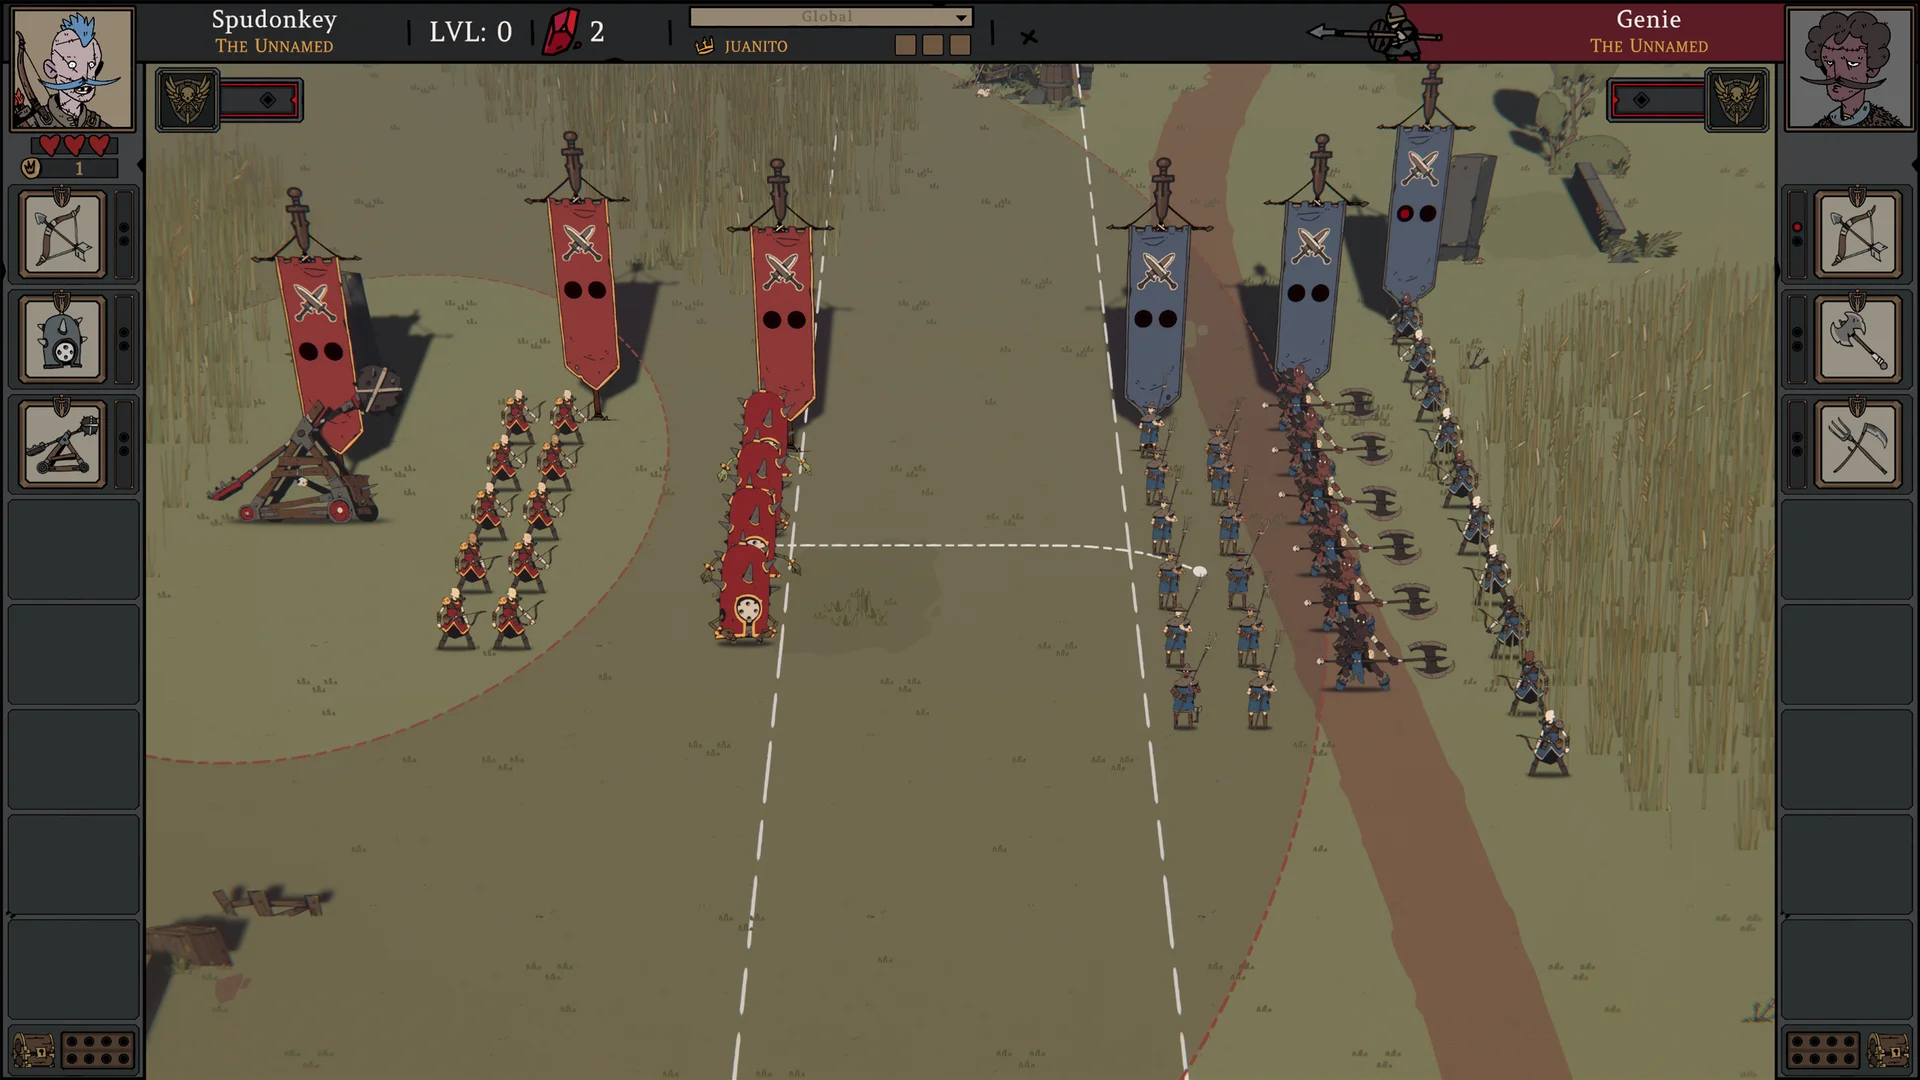
Before starting a fight, inspect each unit's range, initial position and commands. The official screenshot places a siege machine behind several troop lines. That is a useful layout to study, but the image does not show whether it wins.
Before you start
- Source-derived demo preparation. Kingy has not played a battle or verified a winning formation.
Read the space between the lines
The rear machine and forward troops occupy different depths. The visible arcs make distance part of the setup. Kingy's suggested experiment is to give one front unit the job of meeting the enemy and one ranged unit the job of firing from behind it, then observe whether both can do that in your build.
Do not copy the spacing by eye as a universal formation: unit range, commands, terrain and the opponent all affect the question you are testing.
Sources for this section
- Loot Donkey / Firefly Studios / WuselFaktory: Fool King official press kit · Checked 2026-09-23
- Loot Donkey / Firefly Studios / WuselFaktory: Factions, Units and Tactics · Checked 2026-09-23 · Published 2026-09-20
- Loot Donkey / Firefly Studios / WuselFaktory: Fool King on Steam · Checked 2026-09-23
Watch the first failure, then change one cause
This is a learning method, not a win-rate claim. Different opponents prevent a controlled comparison, so record the opponent and terrain too. If a unit appears stuck, check the current demo patch before concluding that the tactic itself is impossible.
- Record the unit types, their current range and the initial commands.
- Choose one job for each line and leave a visible route to the intended target.
- Watch whether each unit moves, acquires a target and attacks.
- After a loss, note the first failed job: no target, no route, missed projectile or early exposure.
- Change one placement or command on the next suitable attempt and compare that behavior.
Sources for this section
- Loot Donkey / Firefly Studios / WuselFaktory: Fool King on Steam · Checked 2026-09-23
- Loot Donkey / Firefly Studios / WuselFaktory: September 11 demo patch · Checked 2026-09-23 · Published 2026-09-11
- Loot Donkey / Firefly Studios / WuselFaktory: Mini Demo Patch 1.1 · Checked 2026-09-23 · Published 2026-09-16
Your checklist
0 of 3 complete · Loading saved progress…
Research checked 2026-09-23. This is a source-based guide; Kingy has not independently play-tested these steps. Evidence and coverage.